There is a specific kind of confidence that comes with a fresh, perfectly shaped manicure. For years, achieving that high-gloss, salon-quality finish meant sitting in a chair for ninety minutes and committing to weeks of regrowth. However, the landscape of modern nail enhancements has shifted dramatically. Today’s minimalist client is turning toward high-quality soft gel tips, seeking that coveted seamless look without the permanent commitment.
The question I hear most frequently in the salon is simply this: how do I make press on nails last longer while maintaining that hyper-realistic, “your nails but better” aesthetic? The secret isn’t just in the glue—it is in the architecture of the application. When applied correctly, these enhancements suit everyone from the busy executive who needs a short, clean squoval for typing, to the minimal style enthusiast craving a milky almond finish for a weekend event. It is about precision, preparation, and understanding the chemistry of adhesion.
The Visual Aesthetic: What High-End Press-Ons Should Look Like
Forget the rigid, plastic tabs of the past. Modern press-on systems, particularly those I recommend to my clients, mimic the structure of a sculpted gel extension. Visually, we are looking for a gradient of opacity. A high-quality set often features a “cuticle-flush” design, where the material is thinner at the base to disappear into your natural nail fold, and thicker at the free edge to provide strength and that satisfying “click” on hard surfaces.
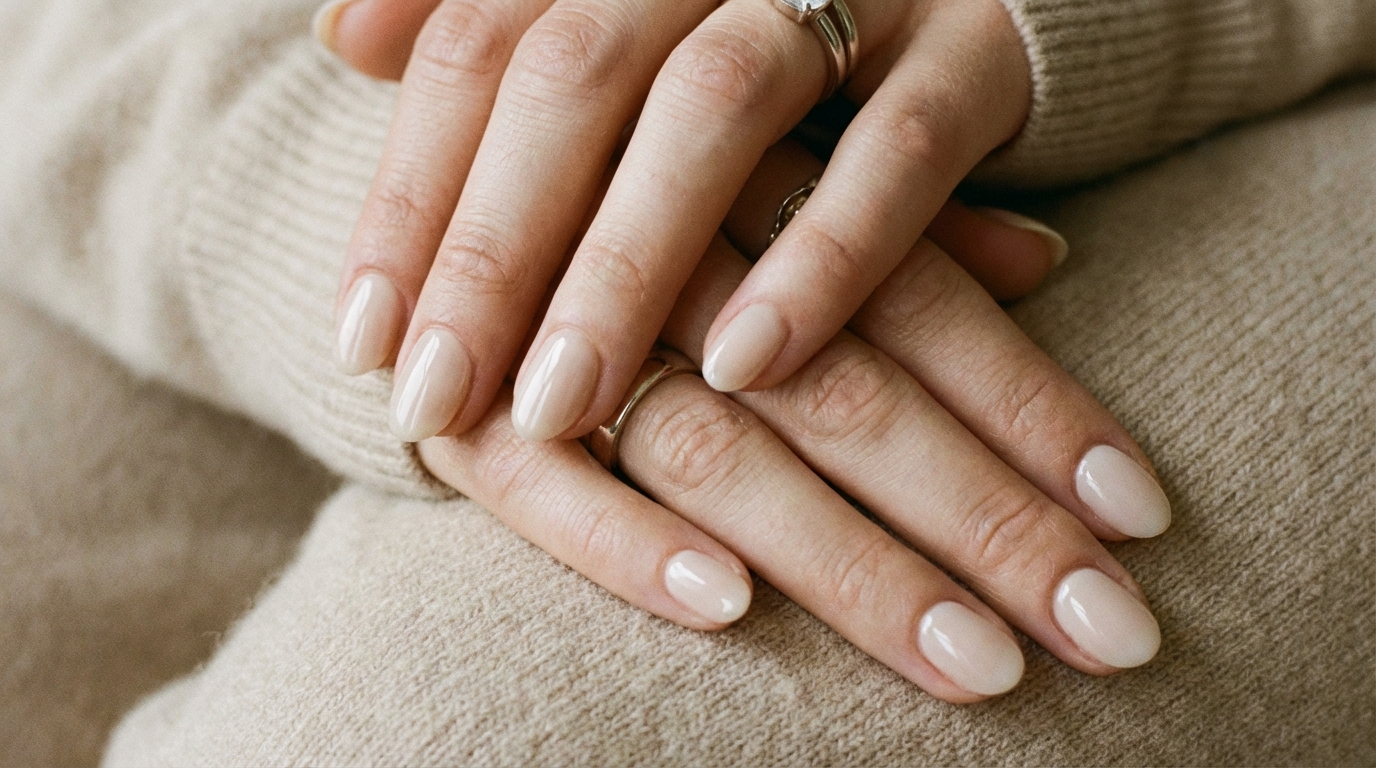
The finish should rival a glass-top coat. Whether you prefer a sheer “soap nail” pink or a deep, opaque bordeaux, the light reflection should be continuous across the curve of the nail (the C-curve). If the reflection is distorted, the nail is too flat or flexible. The goal is a look that is indistinguishable from a structured gel manicure—plump, glossy, and perfectly tapered.

— High-quality press-ons feature a tapered cuticle line for a seamless, natural flush. —
Nail Style Profile: The Modern Press-On
| Color Family | Opacity | Finish | Ideal Nail Length | Ideal Nail Shape | How Natural It Looks | Best For |
|---|---|---|---|---|---|---|
| Nude / Milky / Sheer Pink | Semi-sheer to Opaque | High-Gloss or Jelly | Short to Medium | Squoval or Almond | Very Natural | Everyday Office, Minimalists |
| Classic Red / Black | Opaque | Glassy / Gel-like | Short | Soft Square | Moderately Natural | Evening, Chic Events |
| French Ombré (Baby Boomer) | Gradient Sheer | Soft Shine | Medium | Tapered Almond | Moderately Natural | Weddings, Clean Girl Aesthetic |
| Chrome / Glazed | Semi-sheer | Pearlescent | Medium to Long | Almond / Coffin | Dramatic | Trends, Parties |
Why “Press On Nails Last Longer” Is the Goal for Everyday Wear
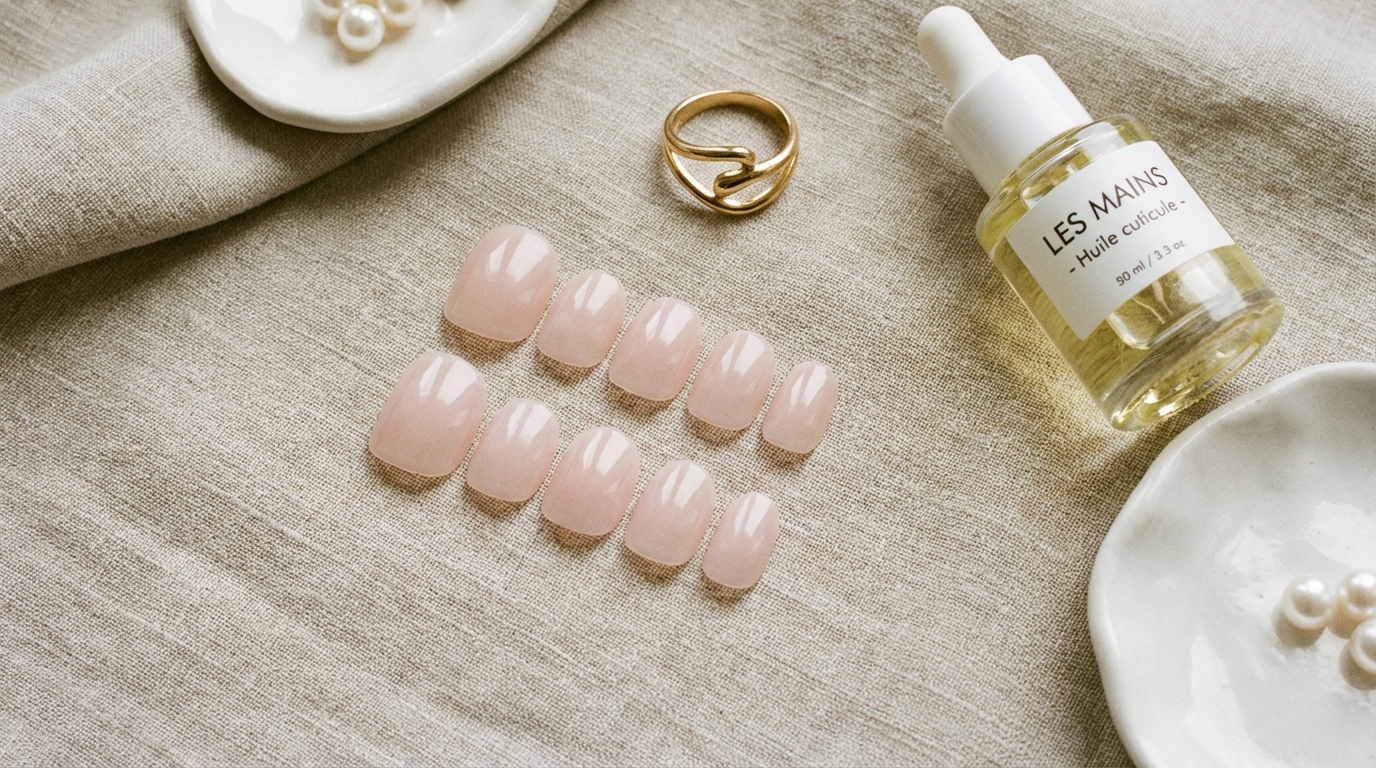
The surge in popularity for this nail method stems from a desire for autonomy over our beauty routines without sacrificing quality. Clients love the durability factor; when you make press on nails last longer—typically 10 to 14 days with pro-level prep—you bridge the gap between a temporary accessory and a functional lifestyle manicure. Realism is key here. Because these tips are often molded from soft gel rather than ABS plastic, they flex with your natural nail plate rather than popping off under pressure. This improves the appearance of the hands by elongating the fingers instantly, correcting flat nail beds, and hiding discoloration with a flawless surface that regular polish simply cannot achieve.

— Modern press-ons offer durability that withstands daily tasks while looking elegant. —
How to Get This Nail Look
At a Nail Salon
If you prefer a professional touch, you aren’t asking for “press-ons” in the traditional sense. Ask your technician for “Soft Gel Extensions” or a specific system like “Gel-X.” Bring photos that show the cuticle line clearly—this tells the tech you value a seamless grow-out. Explicitly ask for a “flush cuticle area” to avoid that bulky ridge that catches in your hair. Avoid salons that try to apply plastic tips with acrylic powder over them if you want this specific lightweight, natural look.
At Home
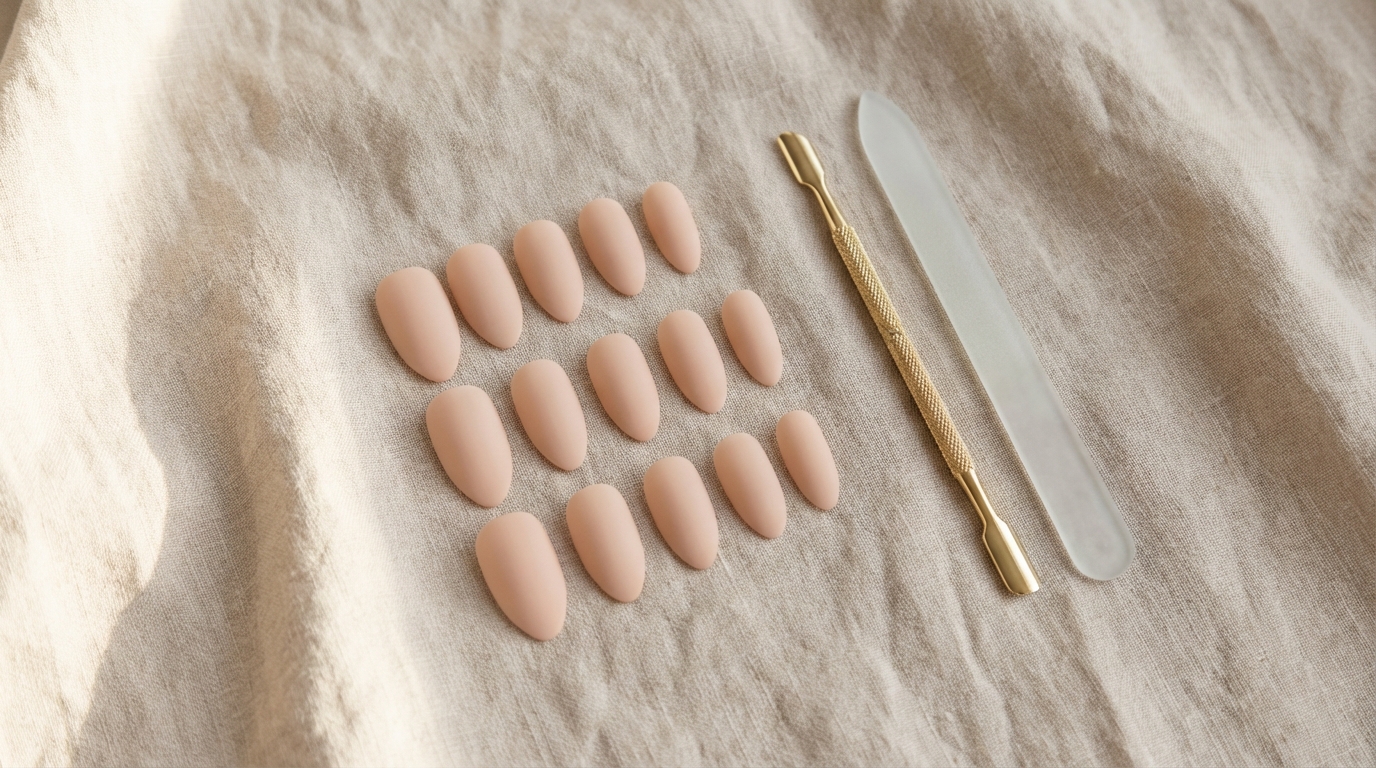
Achieving this look at home is entirely possible and essentially what modern press-on kits are designed for. The market is flooded, but for the most natural finish, look for “soft gel” tips rather than standard plastic. These absorb the adhesive better and mold to your nail shape. For beginners, I always recommend starting with quick press-ons that come with high-viscosity glue, as this fills gaps between your natural nail and the enhancement, creating a vacuum seal that mimics a salon bond.

— The essential toolkit for a salon-quality manicure at home. —
Step-by-Step Application for the Most Natural Result
This is where the artistry happens. The longevity of your manicure is 90% preparation and 10% application. Follow this protocol to ensure your set withstands daily wear.
1. The Canvas: Prep and Texture
Your natural nails contain oils that are the enemy of adhesion. Begin by pushing back your cuticles gently. I prefer a glass cuticle pusher for this, as it exfoliates the dead skin on the nail plate without damage. Lightly buff the shine off your natural nail with a 180-grit buffer. You aren’t thinning the nail; you are creating a “rough” texture for the glue to grip.
Pro Tip: After buffing, cleanse your nails with 90% Isopropyl Alcohol or pure acetone. Do not touch your face or hair afterwards. This dehydration step is critical to prevent lifting.

— Gentle cuticle work and buffing are the foundation of adhesion. —
2. Sizing and Shaping
A common error is choosing a tip that is too large. If the press-on touches your skin, it will lift within hours. Measure each nail sidewall-to-sidewall. If you are between sizes, always choose the larger size and file the sides down to fit. The tip should sit comfortably on the nail plate without you having to press it flat to make it fit.
3. The “Double-Bond” Glue Method
For maximum wear, apply a thin layer of glue to your natural nail and a small dot of glue to the back of the press-on tip, specifically at the base. This ensures there are no air bubbles, which are the primary cause of pop-offs and bacterial growth.
4. The 45-Degree Application
Align the tip with your cuticle area at a 45-degree angle. Slide it down gently until it meets the cuticle line—do not jam it under the skin. Slowly lower the tip onto the nail plate. This motion pushes the air out toward the free edge. Hold firmly for at least 30 seconds per nail. Ensure you are pressing down on the sides, not just the center.

— Applying the tip at a 45-degree angle prevents air bubbles and ensures a secure bond. —
Common Mistakes That Make Nails Look Fake or Bulky
Nothing ruins the illusion of a luxury manicure faster than poor fitment. The most pervasive issue is thickness at the cuticle. If the nail looks like a shelf sitting on your finger, it is a dead giveaway. This usually happens when the press-on is placed too far from the cuticle or if the glue has flooded the area. To fix this, you can gently file the seam where the press-on meets your skin after the glue is fully dry.
Another issue is size mismatch. If you force a small nail onto a wide nail bed, the pressure will eventually cause the plastic to snap or pop off. I have written a detailed guide on How to Choose Press-On Nail Size that breaks down the measuring process to the millimeter, ensuring a custom fit every time.
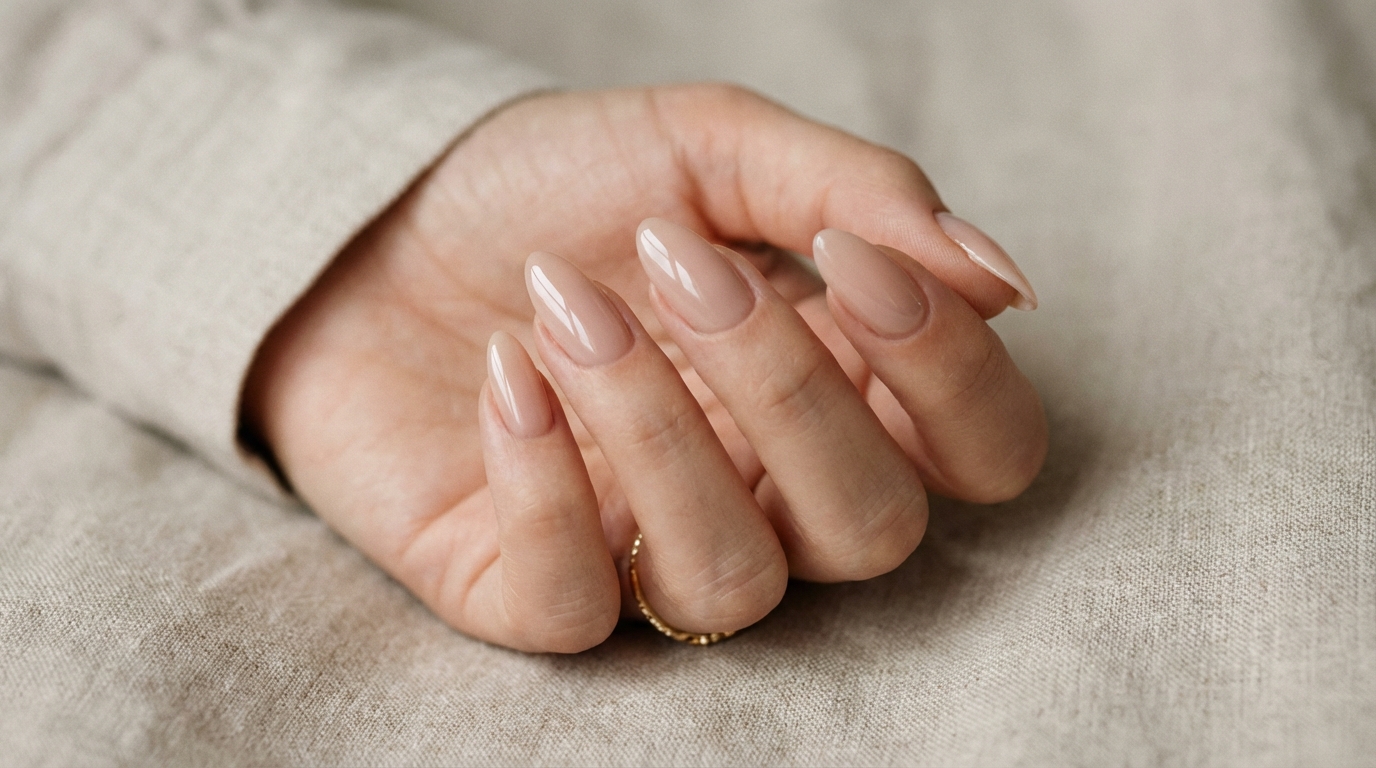
Finally, avoid the “flat” look. Natural nails have a slight arch (apex). If your press-ons look flat and paddle-like, they likely don’t match your natural C-curve. In this case, switching to a brand that offers “sculpted” fits rather than “natural” fits can make a world of difference.

— A correct fit follows the natural C-curve and never sits flat or bulky on the nail bed. —
Maintenance and Longevity
Once applied, treating your hands as tools is the fastest way to lose a nail. While a proper application ensures durability, lifestyle adjustments keep the finish high-gloss. Wear gloves when washing dishes or using cleaning chemicals; hot water breaks down the cyanoacrylate in nail glue over time. If you notice a tip becoming loose, do not rip it off—this strips layers of your natural nail. Instead, follow safe removal protocols.
Pro Tip: Hydration is actually good for the enhancement’s flexibility, but bad for adhesion if it gets under the glue. Keep the surface glossy and the surrounding skin healthy by applying cuticle oil daily. According to beauty experts at Allure, jojoba-based oils are best as they closely mimic natural skin sebum and penetrate deeply without lifting the enhancement.

— Daily hydration with cuticle oil keeps the enhancement flexible and the surrounding skin healthy. —
FAQ
How long can I realistically expect them to last?
With the “double-bond” glue method and proper dehydration, 10 to 14 days is the standard. If you use adhesive tabs, expect 1 to 3 days of wear, which is ideal for weekend events.
Will press-ons damage my natural nails?
Damage comes from improper removal, not the nails themselves. Never pry them off. Soaking them in warm soapy water and oil, or using a dedicated glue remover, ensures your natural nail plate remains healthy and intact.
Which shape looks the most natural?
For a “your nails but better” look, a short Squoval (soft square) or a short Almond shape is best. These shapes mimic natural growth patterns and are less likely to snag, helping the nails stay pristine longer.
Can I shower immediately after application?
I recommend waiting at least two hours before exposing your hands to water. This allows the adhesive to fully cure and form a watertight bond with the keratin in your nails.

— With the right technique, your press-on manicure can look indistinguishable from salon gels. —
Conclusion
Mastering the art of the at-home manicure is a journey of refinement. By focusing on the quality of your prep and the precision of your application, you can easily make your press on nails last longer than you ever thought possible. It allows you to maintain that high-maintenance, polished aesthetic with a low-maintenance routine. Trust the process, take your time with the sizing, and enjoy the elegance of perfectly manicured hands every day.