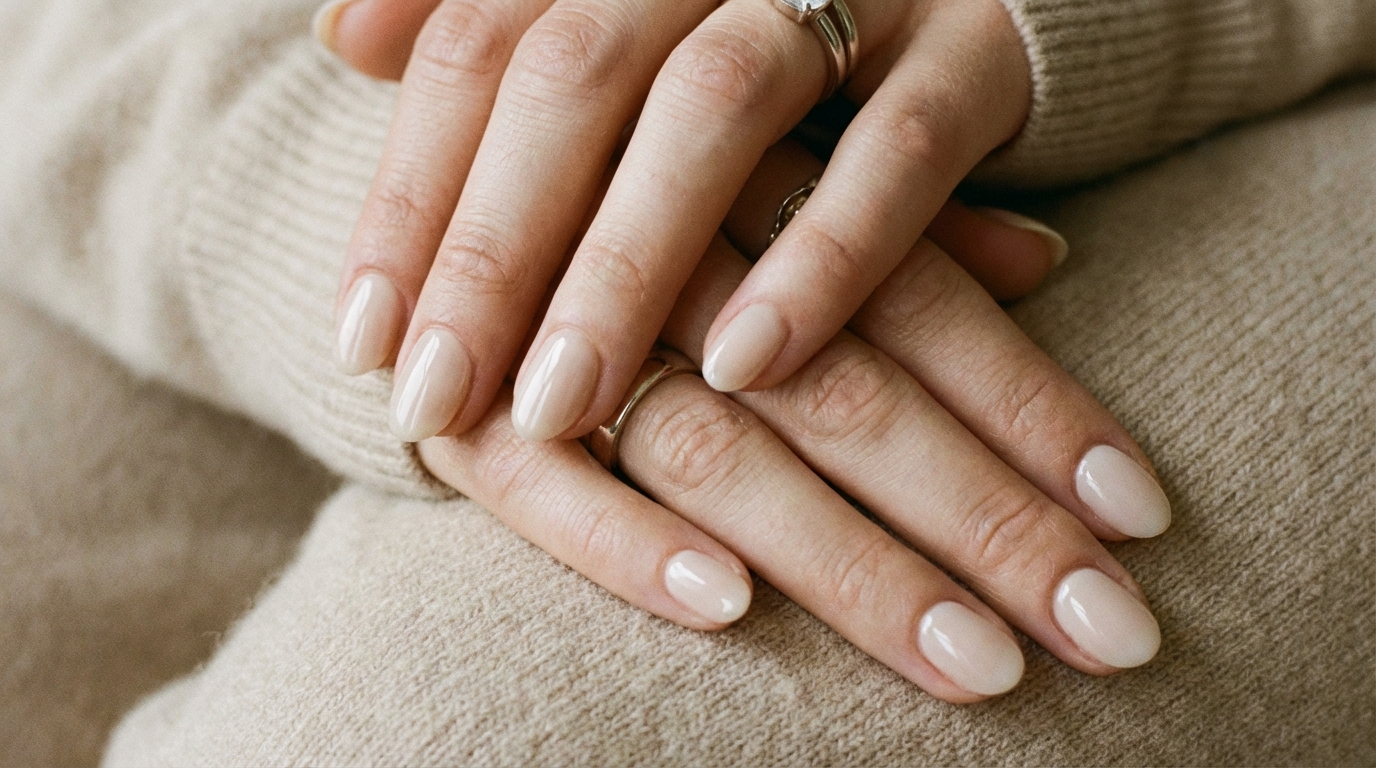
There is a specific artistry to the “your nails but better” aesthetic. It isn’t about merely covering the nail plate; it is about enhancing the architecture of your hand. When clients sit in my chair and ask how to choose minimal press on nails, they are usually seeking that elusive balance between effortless elegance and structural perfection.
This look is characterized by translucency, impeccable cuticle work, and a shape that elongates the fingers without looking artificial. It suits everyone, but it is particularly transformative for those with shorter nail beds who want an elongation effect without the commitment of acrylics.
Whether you are navigating a conservative office environment or simply prefer the clean lines of Scandinavian minimalism, selecting the right press-on set requires a professional eye for undertone and opacity.

What this nail style looks like in real life
When done correctly, a minimal press-on manicure should be indistinguishable from a high-end structured gel manicure (often referred to as BIAB or Builder in a Bottle). We are moving away from the flat, plastic look of traditional drug-store nails and leaning into hyper-realism.
Color & Opacity
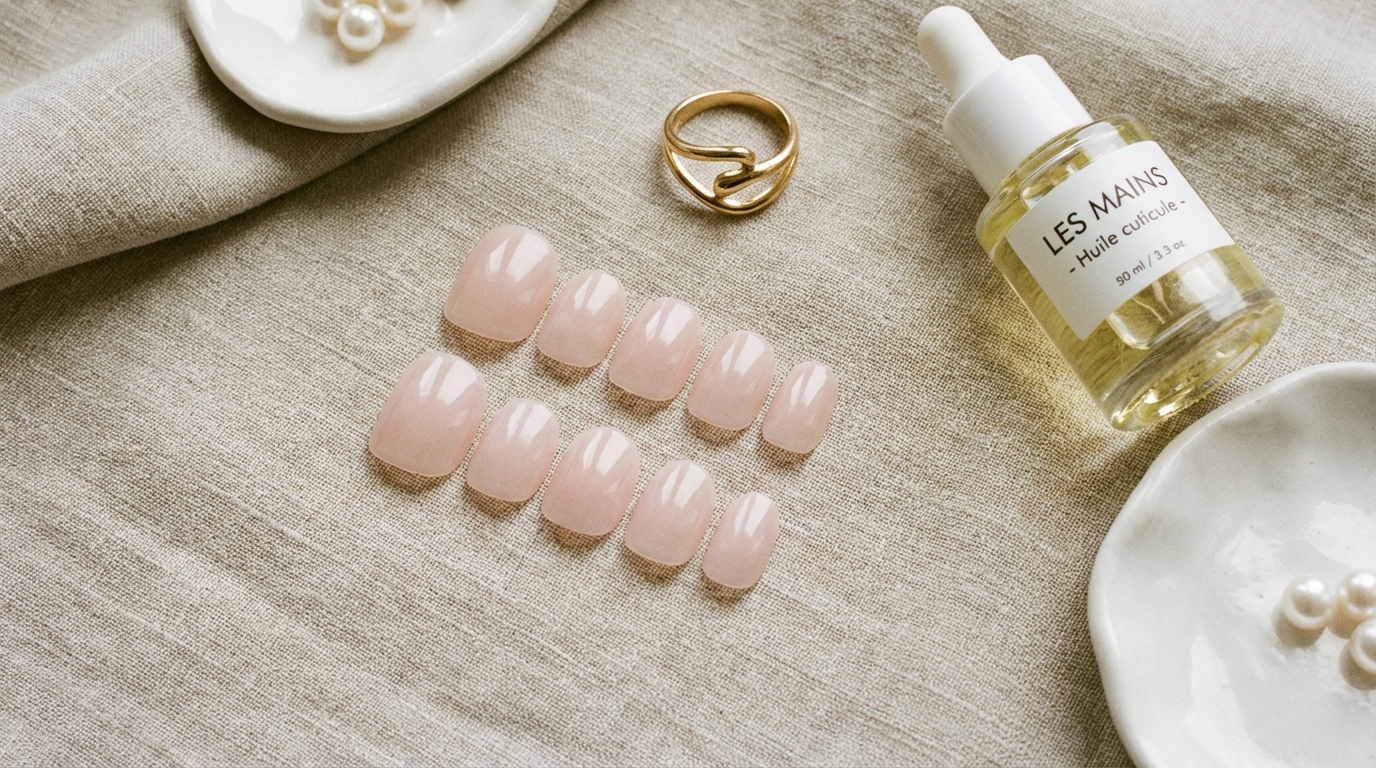
The most sophisticated minimal nails are rarely fully opaque. Look for semi-sheer formulas—milky whites, soft peach glazes, or sheer rose tints. These allow a hint of the natural lunula (the half-moon at the base of your nail) to peek through, which tricks the eye into believing the extension is growing from the root.
Finish & Texture
The finish should mimic the texture of healthy, hydrated keratin. We want a “glass skin” effect for the nails—high-gloss, jelly-like, and reflective. Matte finishes can look chic, but for that ultra-natural vibe, a wet-look top coat is superior.
Shape & Architecture
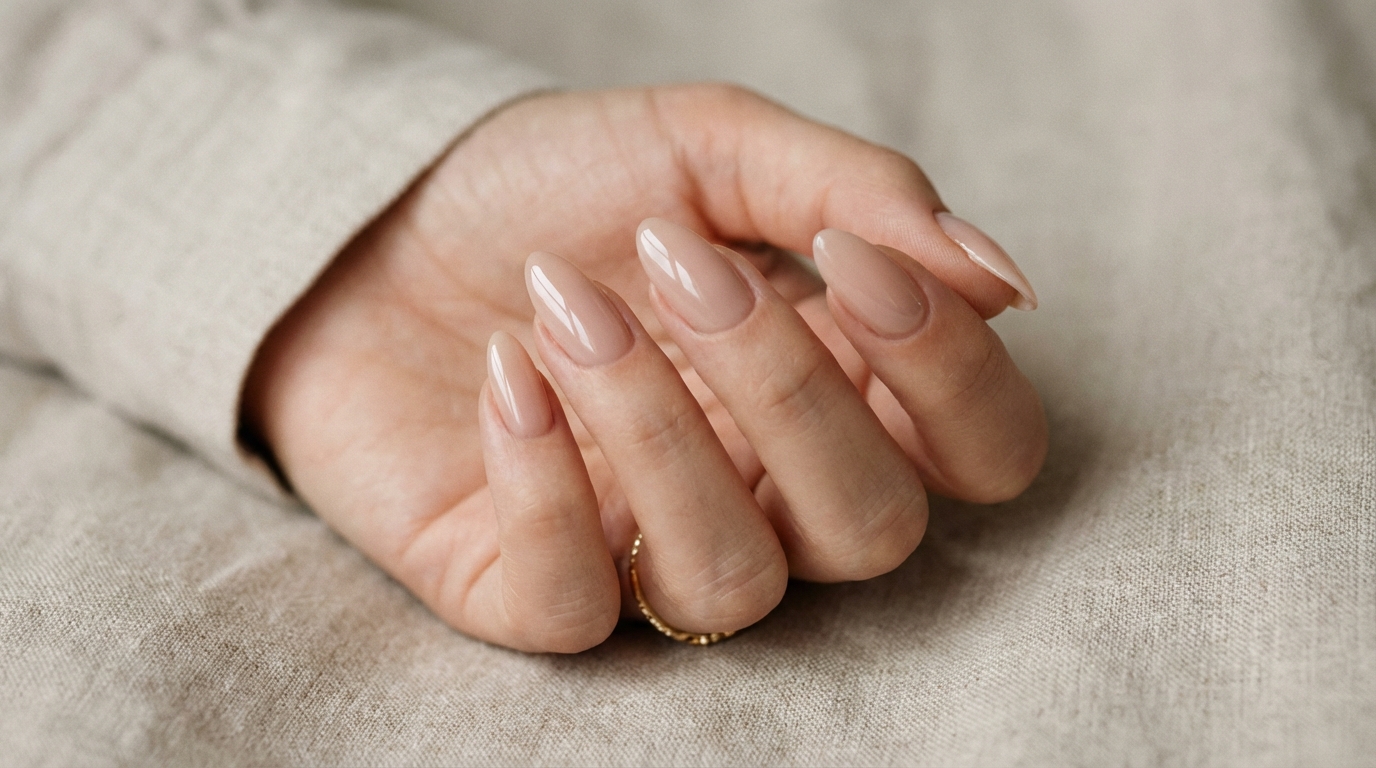
Minimalism favors organic shapes. A soft squoval (square with rounded edges) or a tapered almond mimics the natural growth pattern of the nail plate. The apex (the highest point of the nail) should be subtle, not bulbous.

Nail Style Profile
| Color Family | Opacity | Finish | Ideal Nail Length | Ideal Nail Shape | How Natural It Looks | Best For |
|---|---|---|---|---|---|---|
| Milky White / Cream | Semi-Sheer | Glossy / Jelly | Short to Medium | Squoval | Very Natural | Clean Girl Aesthetic, Office |
| Sheer Rose / Nude | Sheer | High-Gloss | Short | Round | Very Natural | Short Nude Nails That Look Expensive |
| Soft Beige / Taupe | Opaque | Cream / Satin | Medium | Almond | Moderately Natural | Weddings, Formal Events |
| Glazed Donut / Pearl | Semi-Sheer | Iridescent | Medium to Long | Almond | Moderately Natural | Evening, Trendy Minimalists |
Why “choose minimal press on nails” is so popular for everyday nails
The shift toward press-ons in the minimalist community stems from control. In a salon, you are at the mercy of the technician’s mixing ability. With high-quality press-ons, the finish is factory-perfect every time.
Durability has also evolved. Modern soft-gel press-ons are flexible at the cuticle area, meaning they sit flush against the proximal fold without lifting, while remaining rigid at the free edge for strength. This duality creates a comfortable wear that improves the overall silhouette of the hand, making fingers appear longer and more slender instantly.
If you prefer a look that is understated yet luxurious, this is a great alternative to Simple Nude Nails for Everyday Look that might chip within days.

How to get this nail look
At a nail salon
If you are visiting a professional, communication is vital. Ask for a “structured gel manicure” or “soft gel extensions” using a sheer, buildable nude. Avoid standard acrylics, which can look thick and opaque.
- Show photos: Bring images where the cuticle line is blurred and natural.
- Request: “I want a negative-space effect where you can see the nail bed slightly.”
- Avoid: Chalky whites or thick dip powders that eliminate the natural translucency of the nail.
At home
Achieving this at home comes down to product selection. Traditional polish takes hours to dry and often lacks that plump, gel-like depth. Versatile press-ons are superior here because the shape and apex are pre-built.
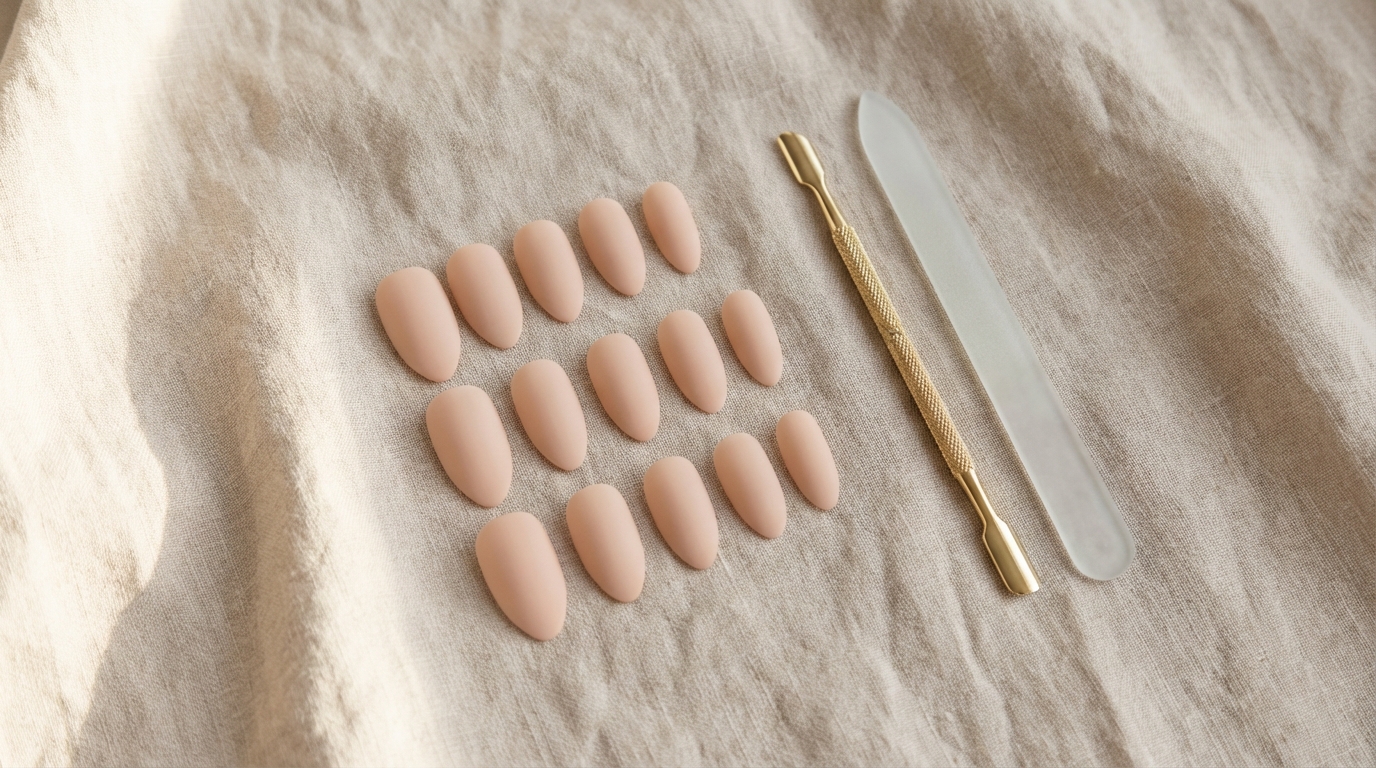
For the most realistic finish, look for “Etched” or “Soft Gel” tips rather than rigid plastic. These melt into the natural nail using glue or gel tabs, offering a seamless transition.

Step-by-step application for the most natural result
The difference between a “fake” look and a salon-quality result is 90% preparation. Do not rush these steps.
1. The Chemical Prep
Your natural oils are the enemy of adhesion. After washing your hands, use a cuticle pusher to gently expose the entire nail plate. Buff the surface lightly to remove shine—we want texture for the glue to grip.
Pro Tip: Cleanse the nail plate with 70% isopropyl alcohol or pure acetone just before application. This dehydrates the nail temporarily, ensuring a bond that lasts 10+ days.
2. Sizing with Precision
When selecting your size, the press-on should fit sidewall to sidewall without touching the skin. If you are between sizes, choose the larger one and gently file the sides down. A slightly smaller nail will pop off; a slightly larger nail will cause pain and lifting.

3. The 45-Degree Application
Apply glue to both your natural nail and the back of the press-on. Align the press-on at a 45-degree angle near the cuticle (but not on it). Slide it down until it meets the cuticle line, then press down firmly.
This technique pushes air bubbles out toward the free edge, preventing that dreaded “white spot” in the center of sheer nails.

4. The Final Blur
Once applied, take a fine-grit buffer and gently buff the edge where the press-on meets your cuticle. Wipe with alcohol, then apply a non-wipe gel top coat over the entire nail to seal the seam. This creates that seamless, “growing out of the skin” appearance.
Common mistakes that make nails look fake or bulky
The “Lifting” Ridge
If your hair gets caught in your nails, your application was too far from the cuticle or you used too much glue, causing a ridge. The press-on must sit flush. If you struggle with this, consider reading about Short Nude Nails That Look Expensive, as shorter lengths often have a more forgiving fit for beginners.
Wrong Undertone
Choosing a cool-toned pink when you have warm, olive skin will make the nails look plastic. Match the nail bed color to your skin tone, not just the trend. Warm skins need peachy nudes; cool skins need rosy or milky pinks.
Ignoring the Free Edge
If you can see your natural nail growing underneath the clear tip, it ruins the illusion. Trim your natural nails short or choose a semi-opaque style to mask the growth line.

Maintenance and longevity
A well-applied set should last 10 to 14 days. To maintain that high-gloss finish, hydration is non-negotiable.
Apply cuticle oil twice daily. It keeps the press-on material flexible and prevents the surrounding skin from hardening, which can cause lifting. According to experts at Allure, consistent use of jojoba-based oil is the single best way to prolong a manicure.
Avoid using your nails as tools. Opening a soda can is the quickest way to snap the adhesive bond.

FAQ
How long do minimal press-ons actually last?
With proper dehydration and sizing, you can expect 2 weeks of wear. Using adhesive tabs will result in 1-3 days of wear, ideal for weekends.
Will press-ons damage my natural nails?
Damage comes from improper removal, not the nails themselves. Never rip them off. Soak them in warm soapy water and oil to gently break the bond.
What is the best shape for short, minimal nails?
A soft squoval is universally flattering and mimics the natural nail shape, making it the most realistic choice for a minimalist aesthetic.
Is gel better than press-ons for this look?
Structurally, gel is stronger, but modern soft-gel press-ons offer 90% of the look for 10% of the time and cost. They are indistinguishable to the untrained eye.

Conclusion
Choosing the right minimal press-on style allows you to curate a hand aesthetic that feels expensive, polished, and intentionally understated. It is not about hiding your hands; it is about elevating them with the right architecture and tone.
By focusing on fit, prep, and sheer finishes, you can achieve a salon-quality result from the comfort of your home. Trust the process, take your time with the sizing, and enjoy the effortless confidence of a perfect manicure.