There is a specific, quiet luxury to a perfectly executed manicure. For years, this level of precision—the seamless cuticle line, the perfect C-curve, the glass-like finish—was exclusively the domain of high-end salons. However, the landscape of modern nail artistry has shifted.
Today, the ability to apply press on nails with professional accuracy is less about convenience and more about curating a flexible, sophisticated aesthetic. It allows the modern minimalist to switch from a sheer, milky almond shape for the office to a dramatic deep noir for an evening event without the commitment or damage often associated with traditional acrylics.
When done correctly, these are not the “stick-on” nails of the past. They are structured, durable enhancements that rival soft-gel extensions. Whether you are prepping for a destination wedding and packing your travel press-ons or simply maintaining an impeccable grooming standard at home, the secret lies entirely in the preparation and the architectural placement of the tip.

The Visual Profile: What High-End Press-Ons Look Like
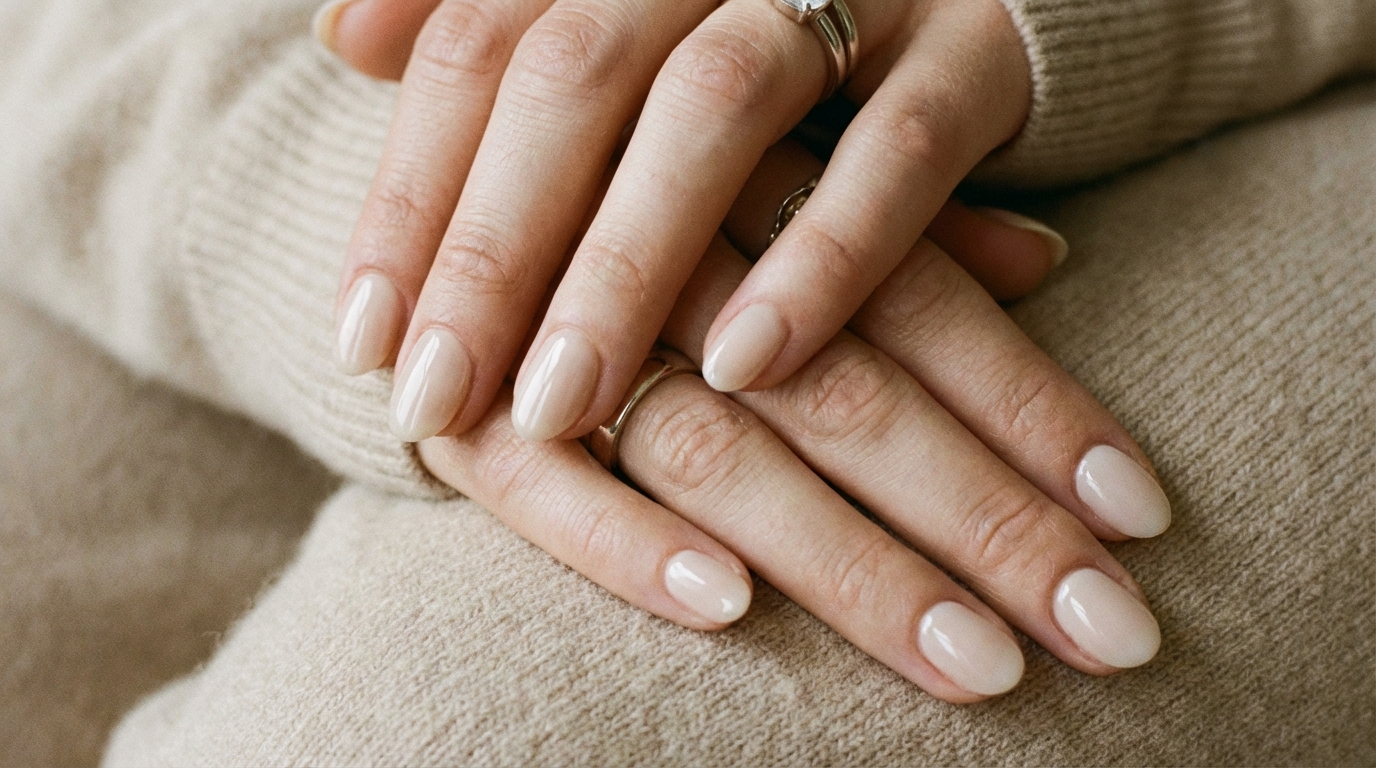
When we talk about luxury press-ons, we are referring to nails that mimic the opacity and depth of a salon gel manicure. In real life, high-quality press-ons should be indistinguishable from a structured gel manicure (often called BIAB or builder gel). They possess a specific plumpness at the apex (the highest point of the nail) and taper thinly toward the cuticle and free edge.
The finish is paramount. Unlike standard plastic tips, premium versions offer a high-gloss, wet-look finish or a velvety matte texture that absorbs light. The color should never look flat; whether it is a translucent “jelly” nude or a solid opaque cream, the pigment must have depth. The goal is a look that feels organic to your hand—not a plastic accessory sitting on top of your finger, but an extension flowing from it.
Nail Style Profile
| Feature | Description |
|---|---|
| Color Family | Versatile (Nudes, Milky Whites, Deep Reds, Soft Pastels) |
| Opacity | Variable: Sheer (natural) to Opaque (dramatic) |
| Finish | High-gloss gel, Soft-touch matte, or Glazed |
| Ideal Nail Length | Short to Medium (for longevity) |
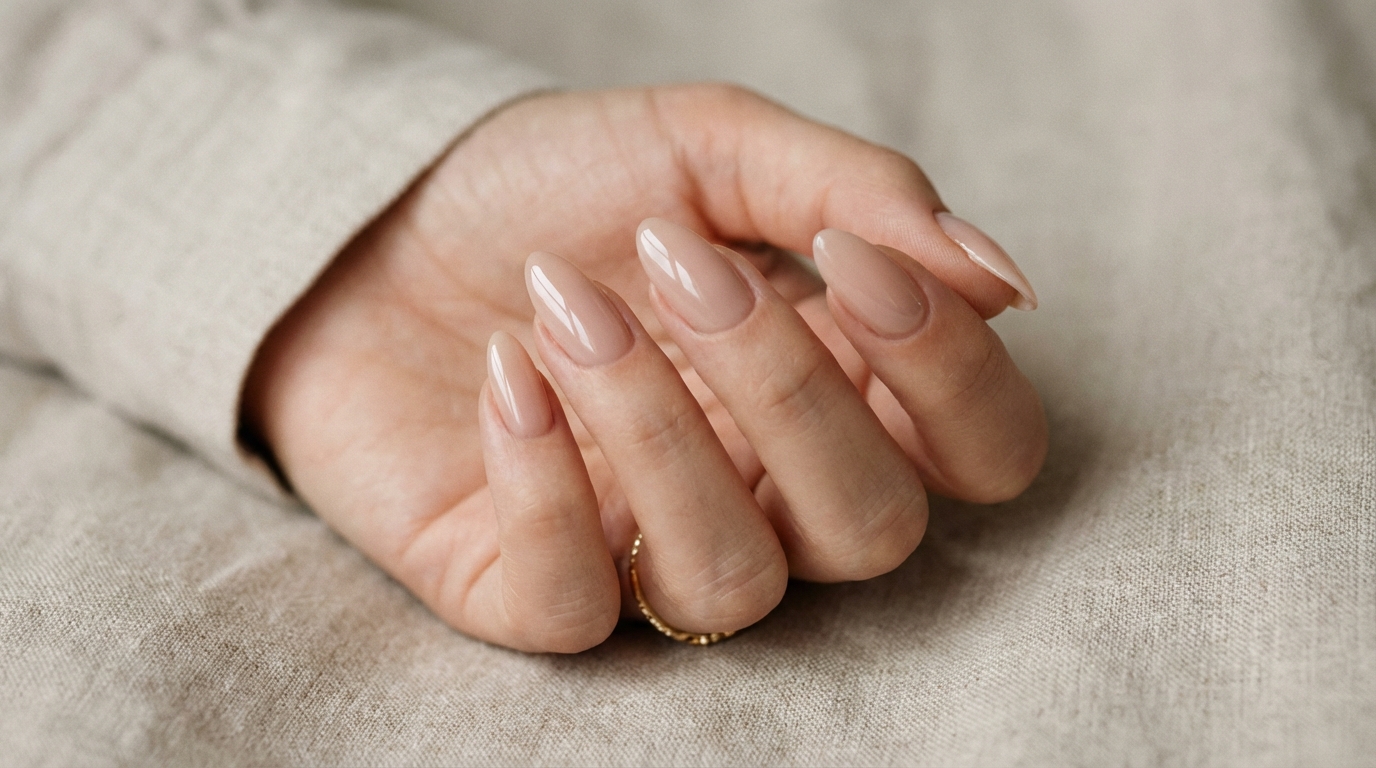
| Ideal Nail Shape | Soft Almond or Squoval |
| How Natural It Looks | Moderately Natural to Very Natural (depending on fit) |
| Best For | Minimalists, photo shoots, events, and protecting natural nails |

Why knowing how to “apply press on nails” is essential for the modern minimalist
The resurgence of press-ons is driven by the desire for nail health and aesthetic autonomy. My clients often love the look of gel but despise the removal process—the soaking, the scraping, and the inevitable thinning of the nail plate.
Mastering the application gives you control. It eliminates the “awkward grow-out” phase. When a set starts to lift or look tired after two weeks, you don’t need an appointment to fix it. You simply remove and replace. Furthermore, the durability of modern soft-gel tips means they don’t chip like polish. They maintain that pristine, freshly-manicured silhouette from the moment you apply them until you decide it’s time for a change.
How to curate this nail look
At a Custom Nail Salon
Yes, you can visit a nail artist for press-ons. Many technicians now create custom-sized sets for clients. You would ask for a “custom sizing consultation.” The artist will measure your nail beds in millimeters and paint a set of high-quality full-cover tips using professional gel polish. This is the gold standard for fit, as the curvature will match your natural nail perfectly.
At Home
To achieve a salon result at home, avoid the rigid, thick plastic kits found in drugstores. Look for brands that label their nails as “soft gel” or “acrylic resin.” These materials have a slight flexibility near the cuticle area, allowing for a flush fit, while remaining rigid at the free edge for durability.

Step-by-step application for the most natural result
The difference between a press-on that lasts two days and one that lasts two weeks is 90% preparation and 10% application.
1. The Architectural Prep
Begin with clean, dry hands. Do not soak them in water, as your natural nails act like sponges; if they expand with water and then shrink as they dry after you’ve applied the glue, the bond will break.
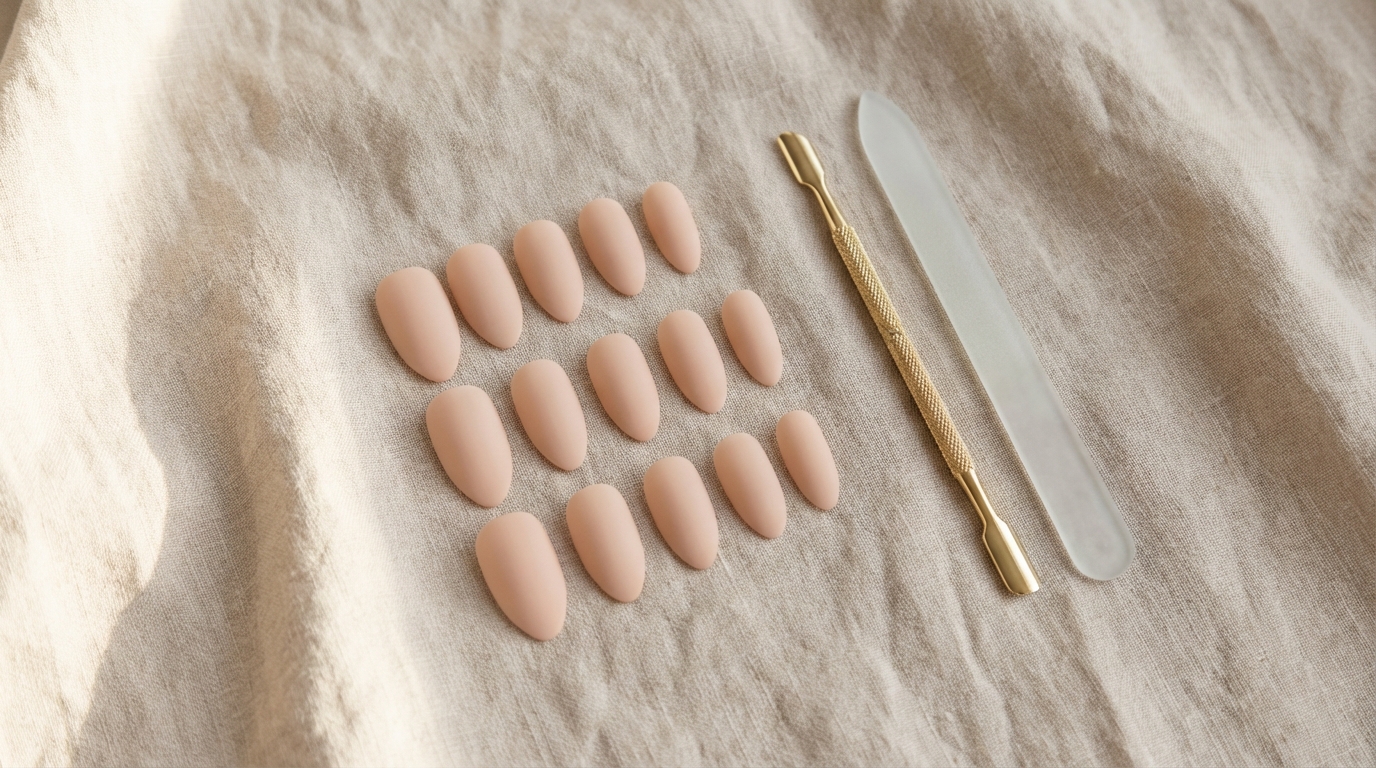
Gently push back the proximal nail fold (cuticle) using a stainless steel pusher or orange wood stick. You want to expose the entire nail plate. Buff the surface of your natural nail lightly with a high-grit buffer to remove the shine. We aren’t trying to thin the nail, merely to create texture for the adhesive to grip.
2. Sizing: The Sidewall Rule
Select your sizes carefully. A tip should fit comfortably from sidewall to sidewall without you having to press it flat. If you are between sizes, always choose the larger size and file the sides down. A tip that is too small will pop off immediately due to the tension of the plastic trying to regain its shape.
Pro Tip: Before applying, file the base of the press-on nail (the part that touches your cuticle) slightly to thin it out. This ensures the transition from your skin to the artificial nail is seamless and invisible.

3. Chemical Dehydration
Wipe your natural nails thoroughly with an alcohol pad or pure acetone. This removes residual oils and dust. This step is non-negotiable for longevity.
4. The 45-Degree Application
Apply a drop of glue to your natural nail and a drop to the back of the press-on tip. Wait five seconds for the glue to become slightly tacky.
Align the tip with your cuticle line at a 45-degree angle. Gently slide it down until it meets the cuticle, then slowly lower the rest of the nail onto the nail plate. This angle pushes air bubbles out rather than trapping them. Press down firmly, focusing on the center and the sides, for at least 30 seconds.

Common mistakes that make nails look fake or bulky
The “Floating” Cuticle
If the press-on sits on top of your cuticle skin rather than tucking right in front of it, it will snag on hair and look artificial. Always ensure the press-on sits flush against the nail plate, not the skin.
The Bubble Effect
Visible white spots underneath sheer or nude nails are trapped air pockets. This happens when you drop the nail flat onto the finger rather than rolling it on. Not only does this ruin the aesthetic, but these pockets allow water to enter, leading to bacterial growth (often called “greenies”).
Neglecting the Shape
Mass-manufactured nails often have small plastic tabs or rough edges at the tip. After application, always file the free edge to a crisp, clean finish. This small detail mimics the sharp filing technique of a professional technician.

Maintenance and Longevity
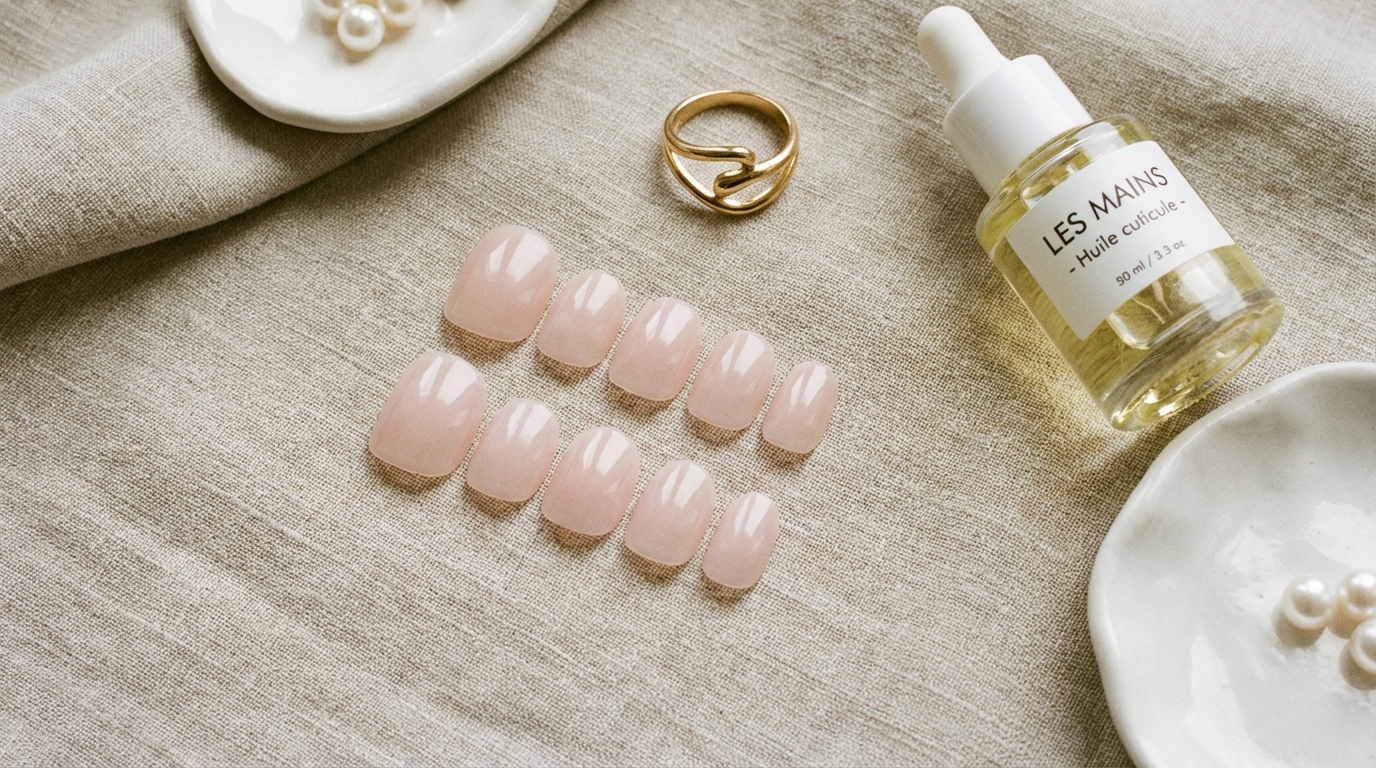
A well-applied set should last 10 to 14 days. To maintain the high-gloss finish, apply a cuticle oil daily to keep the surrounding skin hydrated and plump, which enhances the overall look of the manicure. However, avoid oils for the first 24 hours to let the glue fully cure.
If you find that your lifestyle is particularly hard on your hands, you might want to read more on How to Make Press-On Nails Last Longer for advanced adhesion techniques. Treat your press-ons like jewels, not tools; use your knuckles or finger pads to open cans or press buttons.

FAQ
Can press-on nails damage my natural nails?
Damage usually occurs during removal, not wear. If you rip them off, you will take layers of your natural nail with them. If soaked off gently with warm soapy water and oil (or pure acetone for a faster removal), your natural nails will remain healthy.
How long do they realistically last?
With proper prep (buffing and dehydrating), expect 10-14 days. If you use sticky tabs instead of glue, expect 1-3 days—perfect for a weekend event.
What is the best shape for short fingers?
An almond or oval shape elongates the finger. Avoid wide square shapes if you want to create the illusion of slender, longer hands.
Why do my press-ons pop off after a shower?
This usually means water got into the bond. Ensure you wait at least 2 hours after application before getting hands wet. Also, avoid extremely hot water, as heat can soften certain adhesives.

Conclusion
The ability to apply press on nails flawlessly is a skill that offers immense freedom. It decouples the concept of a “perfect manicure” from the necessity of a salon visit. With the right sizing, careful preparation, and a touch of patience, you can achieve a finish that is visually indistinguishable from a high-end gel set.
Remember that the beauty of minimalism lies in the details. It is not just about the color you choose, but the seamlessness of the fit and the health of the hands that wear it. When you are ready to take them off, be sure to follow the proper steps on How to Remove Press-On Nails Safely to ensure your natural canvas remains pristine for your next application. For more on professional nail care standards, Byrdie’s guide to cuticle care offers excellent supplemental advice.