The modern manicure has evolved. Gone are the days when artificial nails meant thick, overtly plastic squares that signaled “fake” from across the room. Today’s press-on extensions are sophisticated, architectural, and indistinguishable from a high-end salon sculpted gel set. They sit flush against the cuticle, boast a high-gloss glass finish, and offer a level of precision that even the steadiest hand struggles to paint manually.
However, the difference between a manicure that pops off in two hours and one that endures for two weeks lies entirely in your technique. Press on nail care is not just about the application; it is a ritual of preparation, precise sizing, and ongoing maintenance that ensures your natural nails remain healthy while your enhancements stay immaculate. Whether you are a busy executive needing a pristine look for a presentation or a minimalist who prefers changing styles weekly, mastering this care routine is essential for a believable, lasting finish.
What This Nail Style Looks Like in Real Life
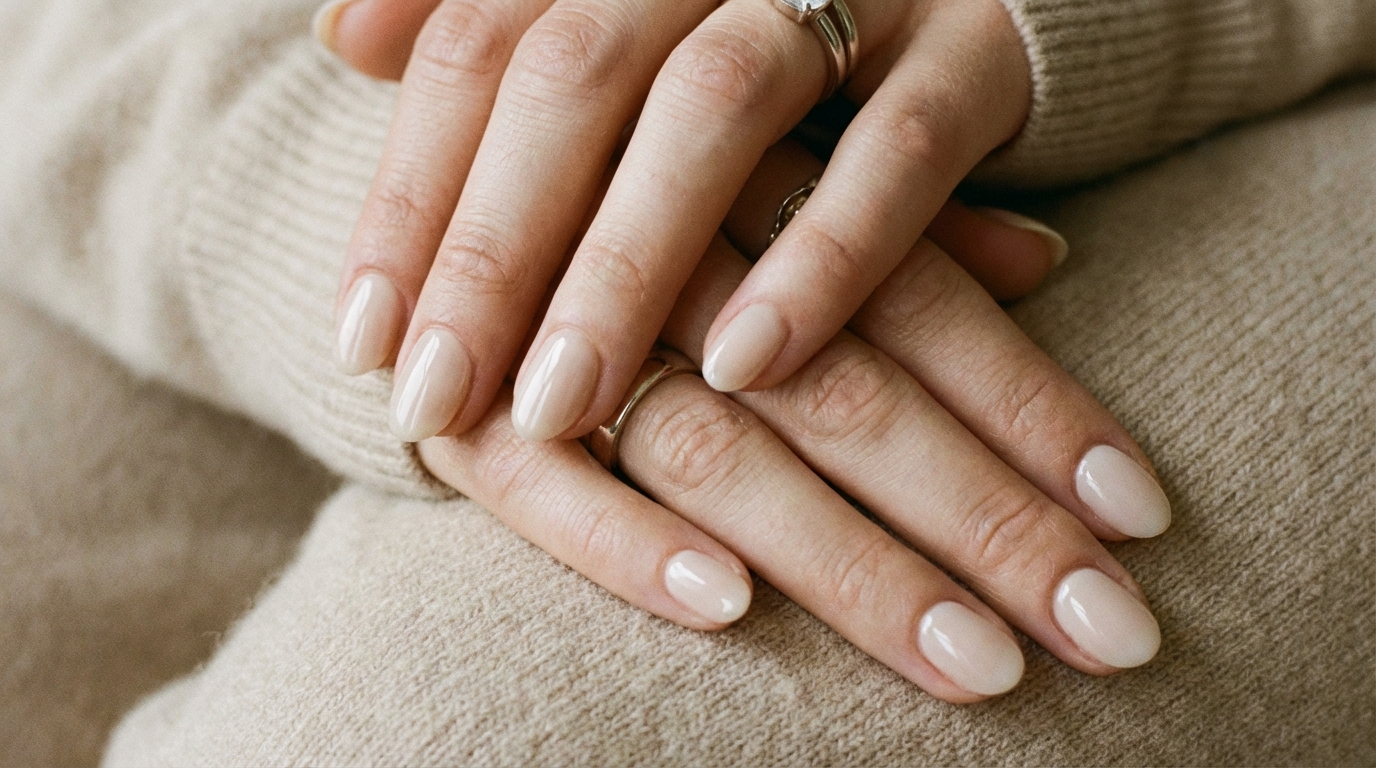
When applied correctly, high-quality press-ons should mimic the appearance of soft-gel extensions or a structured gel manicure (often called BIAB). Visually, they offer a perfect C-curve—the arch of the nail when viewed from the tip—which provides structural integrity and a slender, elegant appearance that natural nails rarely achieve on their own.
In terms of finish, the best modern press-ons lean towards semi-sheer or milky opacities. This translucency at the cuticle line is crucial; it allows the enhancement to blend seamlessly with your natural nail bed, avoiding that harsh “stuck-on” ridge. The color should look suspended within the nail, rather than painted on top, providing a depth similar to a jelly polish. The surface should be impeccably smooth, reflecting light in a continuous, unbroken line from cuticle to free edge.

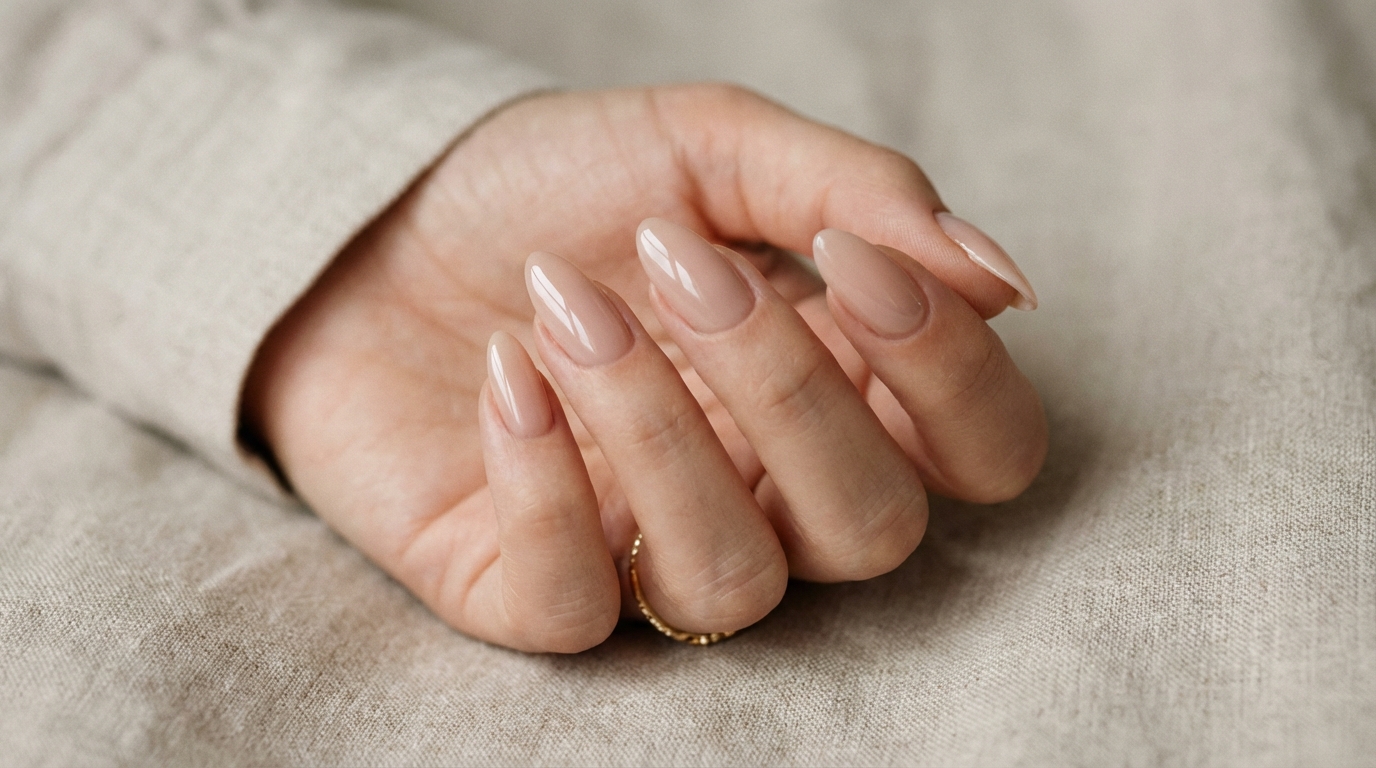
Unlike traditional acrylics, which can sometimes appear bulky or thick at the sidewalls, a well-fitted press-on maintains a crisp, tapered silhouette. They are lightweight and flexible, moving slightly with your natural nail to prevent the rigid discomfort associated with older artificial styles.
Nail Style Profile
| Feature | Description |
|---|---|
| Color Family | Nudes, Milky Whites, Soft Pinks, Sheer Neutrals |
| Opacity | Semi-sheer to Opaque (Gradient at cuticle preferred) |
| Finish | High-gloss, Jelly, or Soft Satin |
| Ideal Nail Length | Short to Medium |
| Ideal Nail Shape | Soft Almond or Squoval |
| How Natural It Looks | Very Natural (if cuticle fit is precise) |
| Best For | Minimists, Photo Shoots, Event-Specific Wear |
Why “Press On Nail Care” is So Popular for Everyday Nails
We are witnessing a shift away from the damage of aggressive e-filing toward methods that prioritize nail integrity. Press on nail care has surged in popularity because it allows for a protective barrier over the natural nail plate. When you aren’t soaking off acrylics or scraping off gel polish every two weeks, your natural keratin layers have a chance to recover.
Beyond health, there is the aesthetic consistency. A press-on set is manufactured to be perfect. The shape of the index finger on the left hand will perfectly match the right. For those who struggle to grow their nails to a consistent length, or for those who simply want Minimal Nails That Look Like Gel without the two-hour salon appointment, this method offers instant uniformity.

How to Get This Nail Look
At a Nail Salon
While press-ons are typically a DIY luxury, many high-end nail artists now offer “custom sizing” appointments. You visit the salon not for application, but for a fitting. The technician measures your nail beds in millimeters and shapes a custom set of full-cover gel tips for you to apply later. This bridges the gap between salon artistry and home convenience.
If you prefer an in-salon application, ask for “soft gel extensions” or “Gel-X.” This is the professional equivalent of a press-on, cured with UV glue for maximum durability (3-4 weeks). Show your technician photos of “cuticle-flush application” to ensure they taper the product near the skin for that invisible transition.
At Home
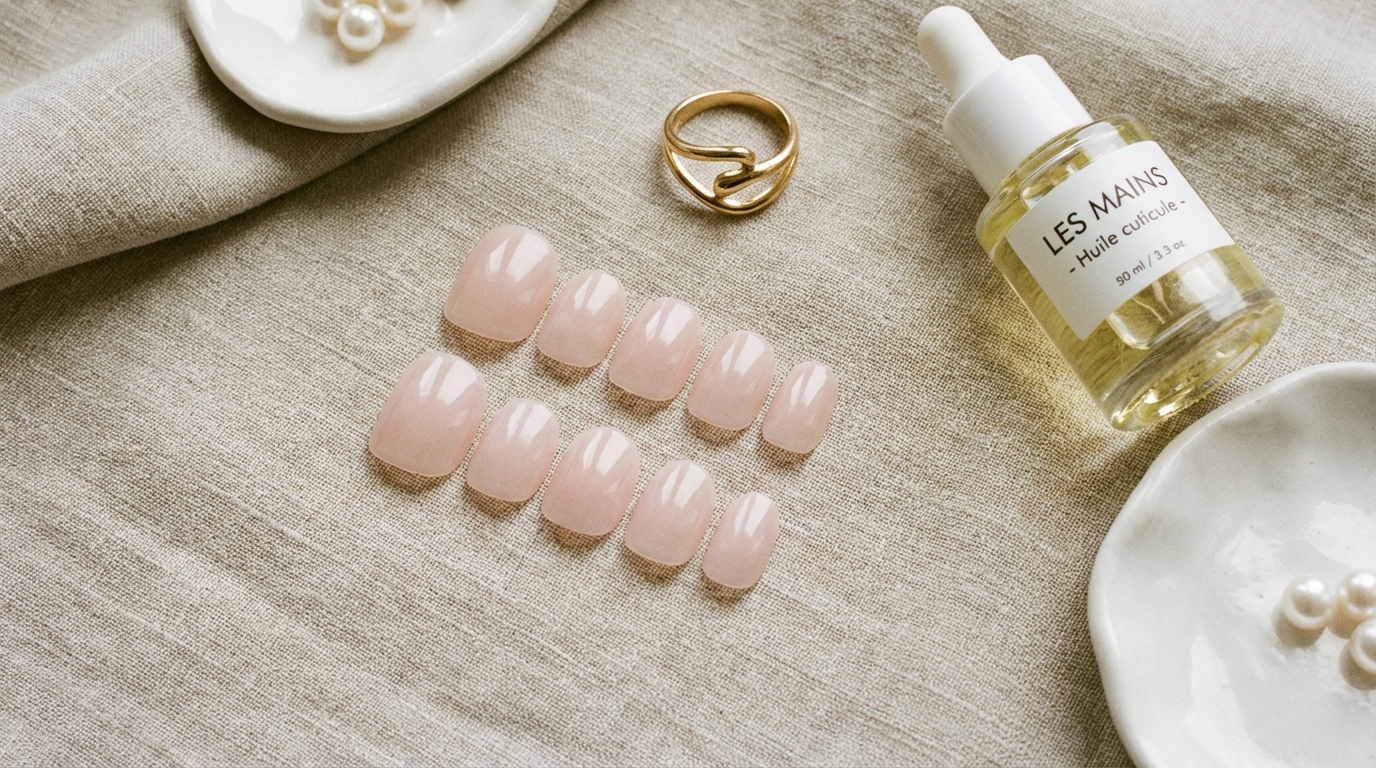
Achieving a salon-grade result at home requires investing in quality tips. Avoid rigid plastic drugstore kits that won’t flex with your nail. Look for “soft gel” press-ons or hand-painted sets from independent artists. These are often made from actual gel polish layers, providing that plump, luxurious thickness that looks expensive. If you are preparing for a special event, such as using wedding press-ons, always do a trial run a week prior to ensure your sizing is accurate.

Step-by-Step Application for the Most Natural Result
The secret to longevity is not the glue—it is the prep. You want to create a dry, textured surface that mechanically locks with the adhesive.
1. The Chemical Cleanse
Begin by removing every trace of oil, lotion, or old polish. Wash your hands with dish soap (which cuts grease better than hand soap) and dry them thoroughly. Wipe each nail with 90% isopropyl alcohol or a professional dehydrator. The nail plate should look chalky and matte, stripped of any natural shine.
2. Cuticle Detail Work
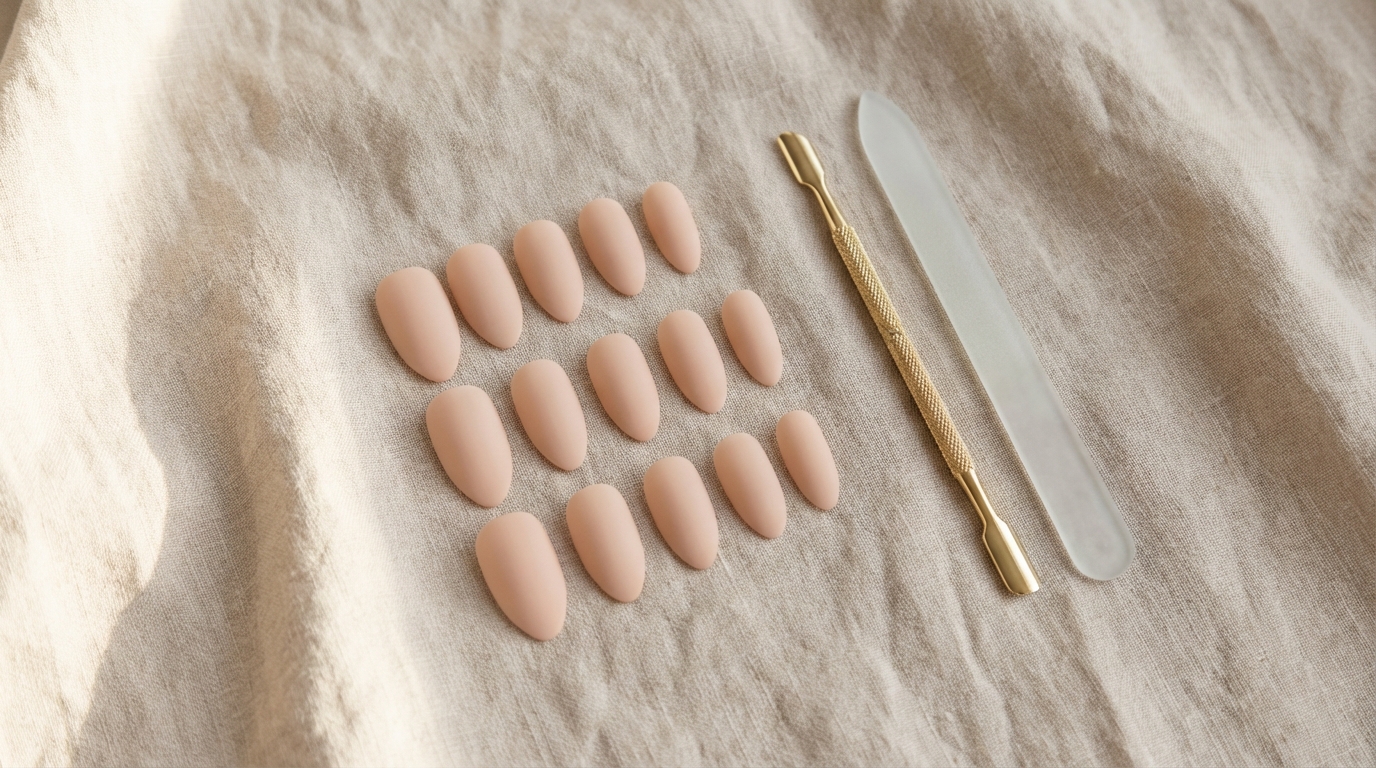
A press-on sitting on top of the cuticle skin will lift within hours. Gently push back the proximal nail fold (cuticle) using a stainless steel pusher or orange wood stick. You want to reveal the entire nail plate. For the most seamless look, lightly buff the dead skin away from the nail plate so the press-on can tuck slightly under the cuticle lip.

3. Etching the Surface
Adhesion requires texture. Using a 180-grit buffer, lightly etch the surface of your natural nail. You aren’t trying to thin the nail, merely to roughen the surface to give the glue something to grip. Do the same to the inside of the press-on tip if it is smooth. This creates a “Velcro effect” on a microscopic level.
4. Sizing and Shaping
Size your tips before you open the glue. The press-on should fit sidewall to sidewall without you having to press it flat. If you are between sizes, always choose the larger size and file the sides down. A tip that is too small will pop off as your natural nail attempts to regain its curve. Pro Tip: lightly file the base of the press-on to make it thinner, ensuring it lies flush against your cuticle.

5. The Application
Apply a drop of glue to your natural nail and a drop to the back of the press-on. Align the tip at a 45-degree angle near the cuticle, then slowly press down toward the free edge. This technique pushes air bubbles out—bubbles are the enemy of longevity and can look like white spots through sheer nails. Hold firmly for 30–60 seconds, applying pressure to the sides as well as the center.
Common Mistakes That Make Nails Look Fake or Bulky
The Floating Cuticle: This occurs when the press-on is glued too far up the nail, leaving a visible gap or ridge. The enhancement should emerge from under the skin fold, not sit on top of it.
The Wide Fit: If the press-on overlaps your skin at the sides, it will not only hurt but will lift immediately. If you have narrow nail beds, look for Minimal Nail Ideas for Short Nails that specifically cater to petite sizing to avoid that flared, spatula look.
Air Pockets: If you see a lighter patch in the center of the nail, air is trapped. This not only weakens the bond but can trap moisture, leading to “greenies” (bacterial growth). If you see an air pocket, it is safer to soak off and reapply than to ignore it.

Maintenance and Longevity
With proper application, a high-quality press-on set should last 10 to 14 days. To maintain that high-gloss finish, treat your nails like jewels, not tools.
Hydration is Key: While water is the enemy of adhesive, oil is the friend of the surrounding skin. Daily application of a jojoba-based cuticle oil keeps the plastic or gel tips flexible and prevents your natural nails from curling away from the glue as they dry out. Dry nails shrink; press-ons do not. This disparity causes popping.
Water Protection: Prolonged submersion in hot water breaks down Cyanoacrylate (nail glue). Wear gloves when washing dishes or hair. If you notice the shine dulling after a week, a quick wipe with alcohol and a layer of regular top coat can revive the “fresh from the salon” look.

FAQ
How long do press-ons really last?
With standard tabs, expect 1-2 days (perfect for a weekend event). With high-quality nail glue and the prep steps outlined above, 2 weeks is the standard. Some clients achieve 3 weeks, though I recommend removal after 14 days for hygiene.
Will press-ons damage my natural nails?
Damage comes from improper removal, not the product itself. Never pry or pop them off. According to nail health experts at Allure, patience during the soak-off process—using warm soapy water and oil—is non-negotiable for preserving your natural keratin.
Can I file the shape if I don’t like it?
Yes, but seal the edge. Filing breaks the factory seal of the tip. After filing to your desired almond or coffin shape, apply a thin layer of clear top coat over the free edge to prevent the color from chipping.
Is there a difference between gel glue and regular nail glue?
Massive. Standard air-dry glue (Cyanoacrylate) is best for opaque press-ons. UV Gel glue requires a clear press-on tip to allow light to penetrate and cure. UV glue essentially creates a semi-permanent extension and requires a soak-off removal.

Conclusion
Press-on nails are no longer a compromise; they are a stylistic choice for the discerning individual who values time, aesthetic precision, and nail health. By treating your application with the same seriousness as a salon appointment, you unlock a world of versatile, damage-free beauty. Whether you choose a sheer milky pink or a deep noir, the elegance lies in the fit and the finish. Trust the process, take your time with the prep, and enjoy the luxury of a perfect manicure on your own terms.