As a nail technician, I often tell my clients that the integrity of your manicure isn’t determined by how you put the nails on, but by how you take them off. We have entered a golden era of faux nails, where high-quality tips can mimic the look of a sculpted gel set perfectly. However, the anxiety surrounding the removal process is real. Many of us have experienced the temptation to pry off a lifting nail, only to damage the delicate keratin layers underneath.
Knowing the correct way to remove press on nails is the secret to maintaining a “clean girl” aesthetic. This process shouldn’t be a battle; it should be a ritual. Whether you are transitioning between styles or simply giving your hands a minimalist reset, safe removal ensures your natural nail plate remains healthy, strong, and ready for your next look. It suits the busy professional, the style-conscious minimalist, and anyone who values the long-term health of their hands over a quick fix.
What healthy post-removal nails look like in real life
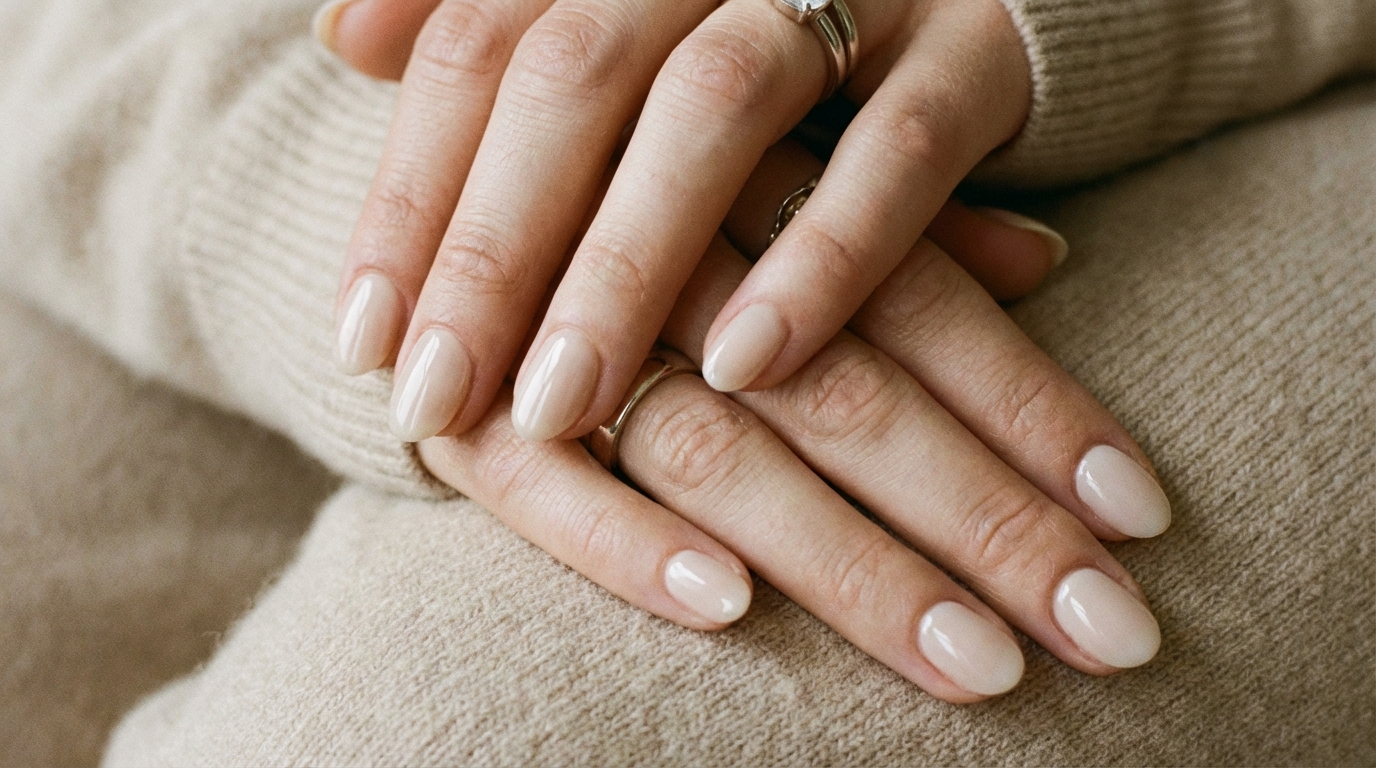
When you execute a proper removal, the result is vastly different from the rough, white-streaked surface typical of forced removal. We are aiming for a “reset” aesthetic. Your natural nails should retain their natural C-curve without thinning or peeling at the free edge.
Visually, a healthy nail plate after removing press-ons should look satiny and hydrated, not chalky. If you have been wearing your press-ons for a week or two, you might see a slight ridge of growth, but the surface should remain smooth to the touch. The goal is a canvas that looks intentional—a soft, nude pink bed that glows with health, ready for a sheer treatment or a simple buff-and-shine.
Unlike acrylics, which often leave the nail plate tender and significantly thinned, a properly removed press-on (especially those applied with adhesive tabs or soft-gel glue) should leave your natural barrier intact. The finish should be semi-matte natural keratin, not shredded fibers.

Nail Style Profile: The “Post-Removal” Reset
| Feature | Description |
|---|---|
| Color Family | Natural Beige / Soft Pink (Your natural bed) |
| Opacity | Opaque (Healthy nail plate) |
| Finish | Soft Satin / Healthy Sheen |
| Ideal Nail Length | Short to Medium (Active Length) |
| Ideal Nail Shape | Squoval or Soft Round |
| How natural it looks | Very natural |
| Best for | Rehabilitation, Breaks between sets, Minimalists |
Why “remove press on nails” is a trending topic for everyday style
The conversation around how to remove press on nails has shifted from a chore to a crucial part of the beauty routine. Why? Because the modern woman changes her aesthetic as fluently as her wardrobe. The popularity of high-quality press-ons lies in their versatility, but that versatility relies entirely on the ability to take them off without consequences.
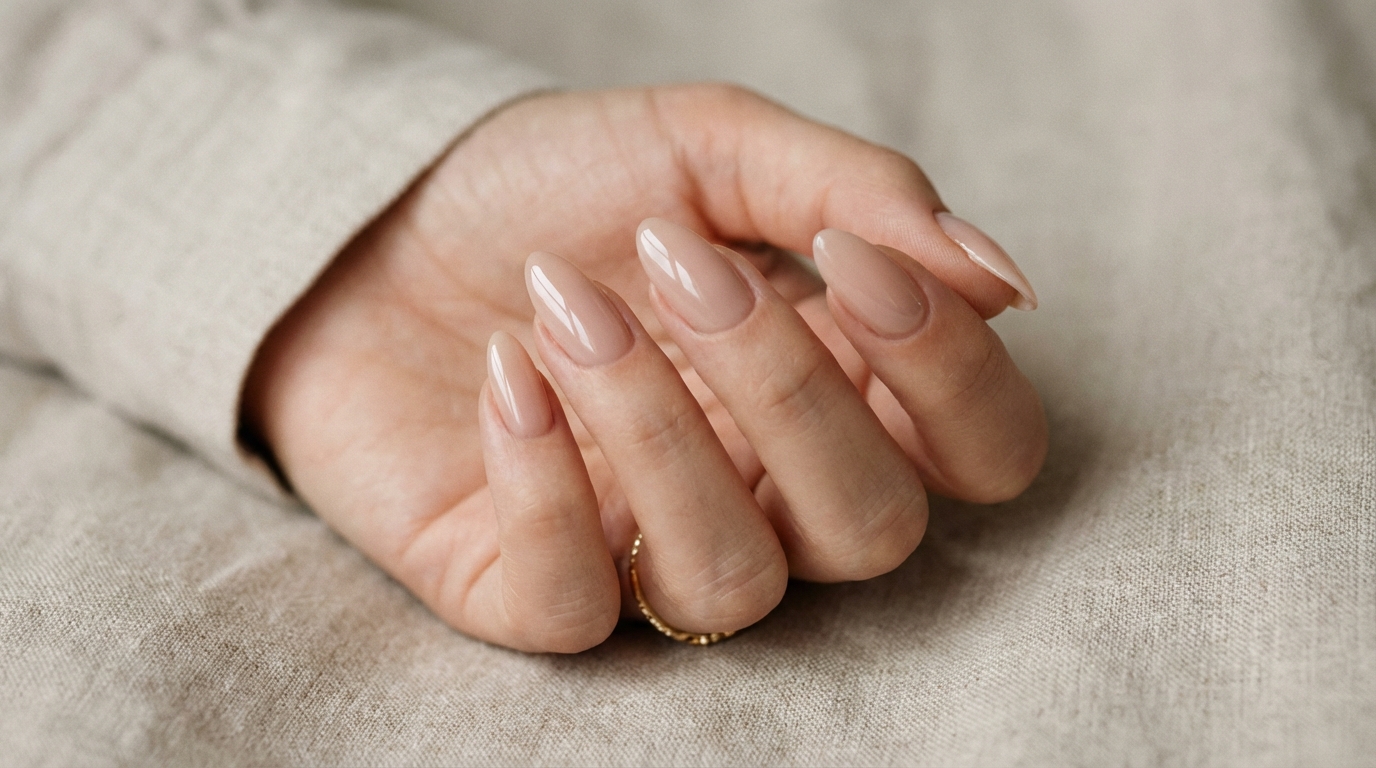
Durability is often cited as a benefit of press-ons, but the true luxury is the temporary nature of the commitment. Being able to wear a long almond shape for a weekend wedding and then removing them for a short, practical office look on Monday is the ultimate minimalist hack. It improves the appearance of the hands by ensuring that you never have to hide grown-out, lifting, or awkward nails. You are in full control of your grooming standards.

How to get this look: The Removal Methods
At a nail salon
If you are nervous about damage, visiting a salon is a valid option, though not always necessary for press-ons. If you go, ask for a “soak-off” rather than a “drill-off.” Show the technician photos of the specific brand you used, as some require acetone while others (like work-appropriate press-ons utilizing adhesive tabs) simply need oil and heat. Explicitly ask them to avoid using an e-file on your natural nail plate to preserve thickness.
At home
For the vast majority of minimalist press-on wearers, home removal is preferred. It gives the most natural finish because you can take your time. Unlike gel, which forms a hard chemical bond, press-ons generally use cyanoacrylate (glue) or adhesive tabs. The “Oil and Soap” method is superior to pure acetone for preserving skin health, while acetone is faster but more drying. For a minimal, non-toxic lifestyle, the oil soak is the gold standard.

Step-by-step application for the most natural result
Once you have successfully removed the press-ons, you shouldn’t just leave your nails bare and vulnerable. To achieve that high-end, “your nails but better” look immediately after removal, follow this restorative application routine. This mimics a luxury Japanese manicure.
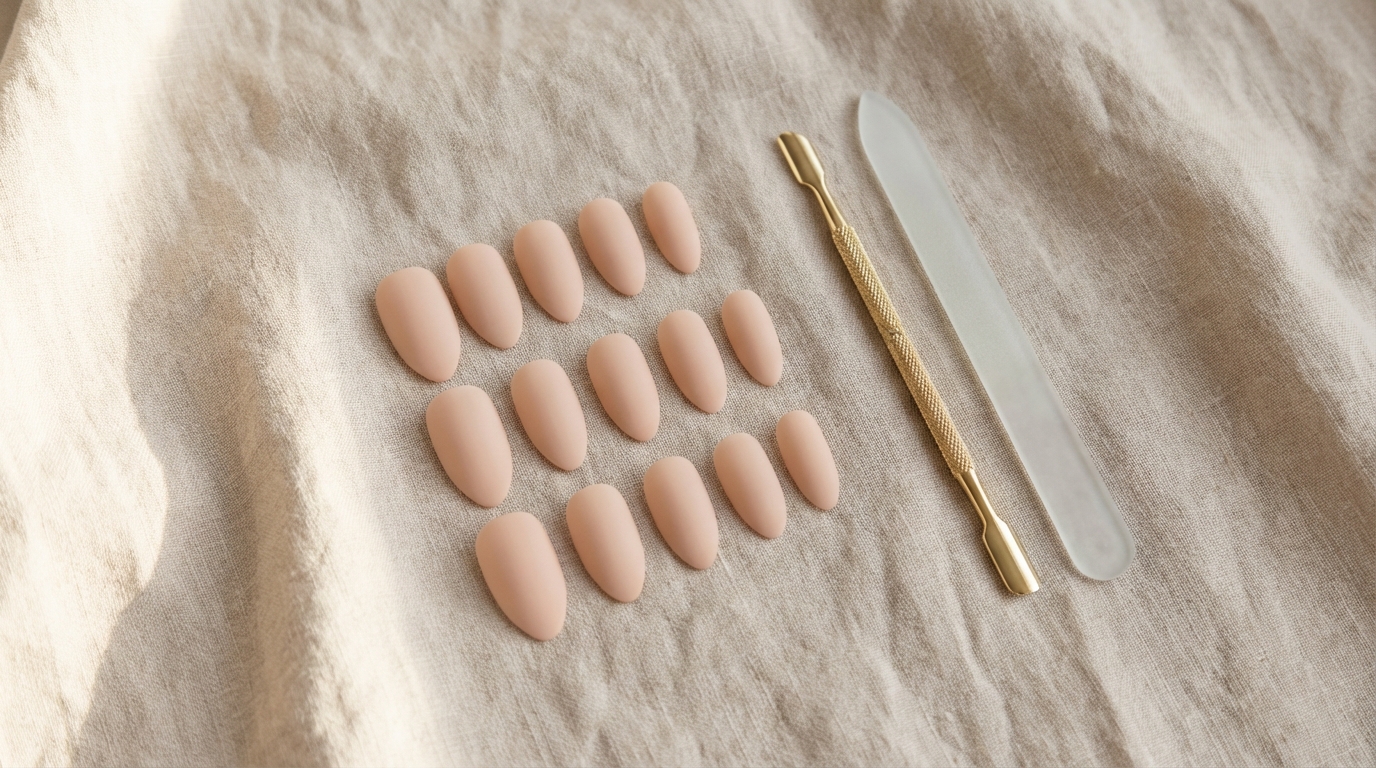
1. Nail Prep and Buffing
After removal, wash your hands thoroughly to remove oil/acetone residue. Gently—and I mean gently—buff the surface of the nail with a high-grit buffer (240 grit or higher) to smooth out any remaining glue specks. Do not over-buff; we want to keep the nail plate thick. Push back the proximal nail fold (cuticle) to elongate the nail bed visually.

2. Shape and Length
Clip any jagged edges. File your nails into a uniform “active length”—usually just passing the fingertip. A squoval shape mimics the natural cuticle line and provides the most structural integrity for a recovering nail. File in one direction to prevent micro-tears at the tip.
3. Base Treatment
Apply a strengthening base coat or a ridge filler. This is crucial post-removal. It acts as a bandage, filling in any microscopic unevenness caused by the glue. A good ridge filler will instantly make the nail look glass-smooth.

4. Color (Sheer Wash)
To mask any discoloration without looking like you’re wearing heavy polish, apply one coat of a translucent, milky pink or beige. This neutralizes any yellowing and gives the nails a healthy, oxygenated glow. It should look like you aren’t wearing polish, just that you have naturally perfect nails.
5. Top Coat
Finish with a high-gloss, gel-effect top coat. This seals the layers and adds a protective shield. The light reflection from a glossy top coat hides imperfections and gives that expensive, “glass skin” finish to the hands.
Pro Tip: Before applying your base coat, wipe the nail with 70% alcohol. This removes the oils from the removal process and ensures your restorative manicure lasts for a week, giving your natural nails time to harden.

Common mistakes that make nails look fake or bulky
Even during removal and rehabilitation, subtle errors can ruin the minimalist aesthetic.
- The “Pry-Off” Ridge: The biggest mistake is forcing the nail off before the glue is dissolved. This creates white, feathery patches on the nail plate (delamination) that look dry and damaged, making any subsequent sheer polish look uneven.
- Over-Buffing: In an attempt to remove residual glue, many people buff too aggressively, creating a “dip” in the nail plate. This results in a thin, sensitive nail that looks red and inflamed.
- Ignoring the Hyponychium: Aggressive cleaning under the free edge can damage the hyponychium (the skin seal under the nail). If this is broken, the nails look shorter and less elegant.
- Skipping Rehydration: Leaving the nails stripped of oils makes them look chalky and fake. Natural nails have a luster; dehydrated nails look matte and dead.

Maintenance and longevity
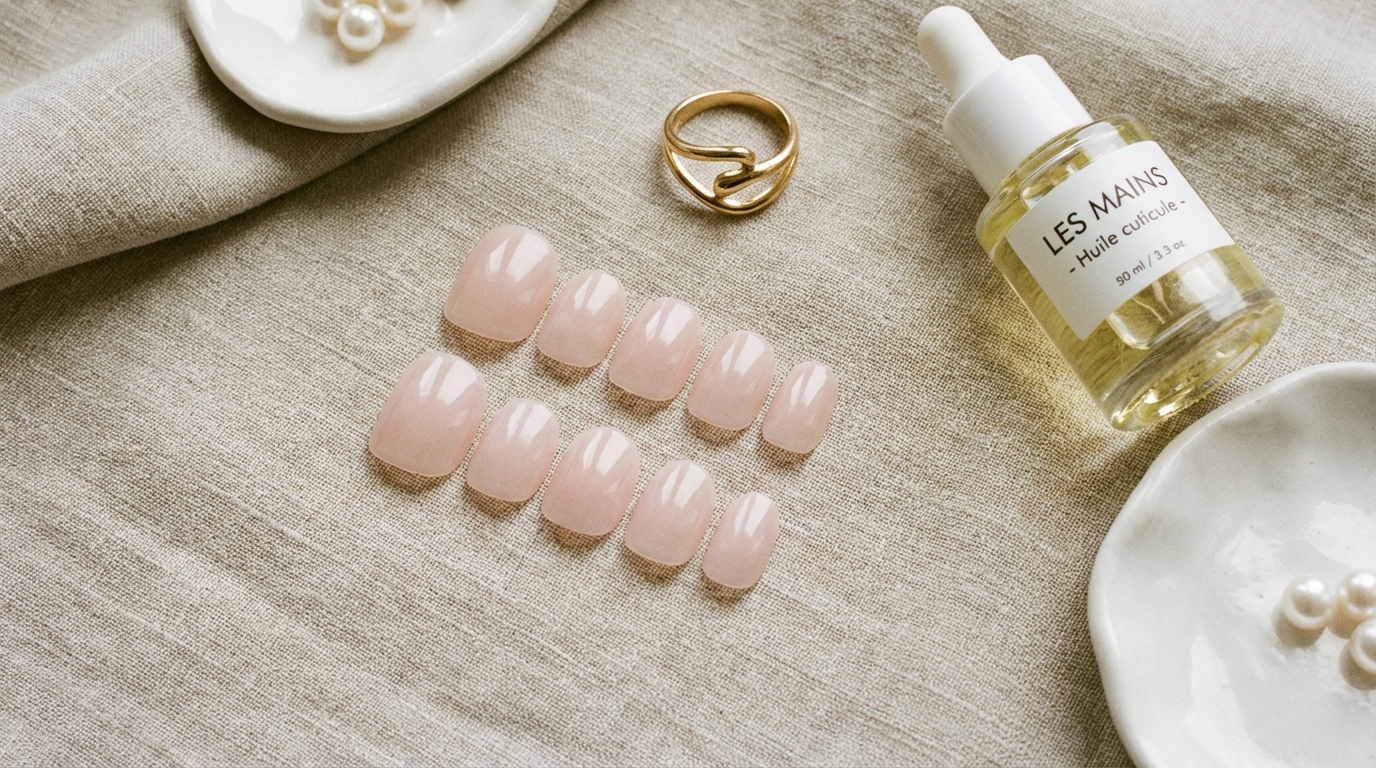
After you remove your press-ons safely, the goal is to maintain that hydration. A “reset” manicure should last 5–7 days before you consider applying a new set of press-ons. To keep the finish glossy and clean, apply cuticle oil twice daily—specifically one containing jojoba oil, as its molecular size is small enough to penetrate the nail plate.
If you prefer a constant rotation of styles, consider giving your nails a 24-hour “breathing” period between sets, heavily saturating them with lipid-rich oils during this time. For more inspiration on styles that are easy to manage, check our guide on minimal ideas for short nails.

FAQ
How long should I soak my nails to remove press-ons?
If using warm soapy water and oil, expect to soak for 15–20 minutes. If using acetone, 10–12 minutes is usually sufficient, but check every 5 minutes to see if the glue has softened.
Will removing press-ons damage my natural nails?
Not if done correctly. Damage comes from force, not the product itself. If you allow the solvent (oil or acetone) to break the chemical bond completely, the press-on should slide off with zero damage to the keratin.
Can I reuse press-on nails after removal?
If you remove them with the warm water/oil method, yes! The nails remain intact. If you use acetone, the press-on plastic will melt and warp, rendering them unusable.
Is it better to use adhesive tabs or glue for easier removal?
Adhesive tabs are significantly easier to remove (often just a warm soak) and leave zero residue, making them ideal for weekend wear. Glue offers longer wear but requires a more patient removal process.
Conclusion
Mastering the art of removal is what separates a nail novice from a true minimalist aficionado. By taking the time to remove press on nails with care and precision, you treat your hands with the respect they deserve. There is an elegance in the ritual of revealing your natural self, hydrating your skin, and preparing a fresh canvas.
Don’t rush the process. Pour yourself a coffee, put on a podcast, and let the warm water and oil do the work for you. Your future self—and your healthy, strong nails—will thank you.
For more insights on keeping your hands camera-ready, read about the expert-approved removal techniques from top dermatologists.