There is a distinct, satisfying click that comes with a perfectly applied set of nails—a sound that signals polish and preparedness. For the modern minimalist, the goal is a manicure that looks seamless, grown-out, and indistinguishable from a high-end structured gel service. We want the aesthetic of a two-hour salon appointment with the convenience of a ten-minute application.
However, the line between a flawless, glass-like finish and an obviously artificial look is incredibly thin. Many enthusiasts find themselves frustrated by lifting edges or bulky cuticles, often falling victim to common press on nails mistakes that shatter the illusion of natural nails. When done correctly, modern soft-gel press-ons are the ultimate secret weapon for the busy professional: durable, chic, and virtually undetectable.

What This Nail Style Looks Like in Real Life
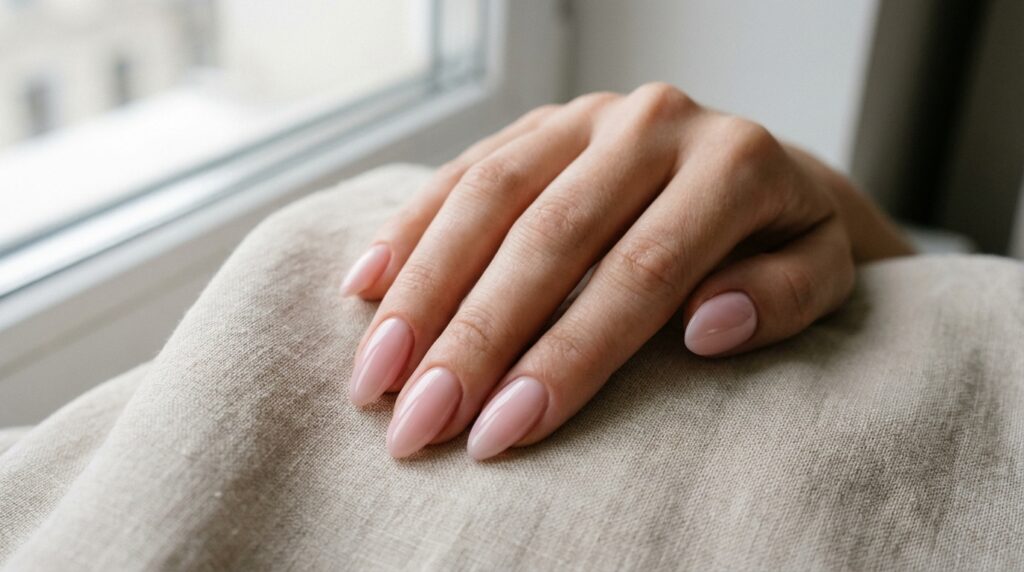
When we speak of the ideal minimalist press-on, we are not visualizing the rigid, plastic squares of the early 2000s. Today’s standard is the “soft gel” aesthetic. Visually, these nails possess a specific luminosity. They mimic the natural C-curve of the nail plate, hugging the sidewalls without creating tension.
The color palette is intentionally understated—think milky oat, translucent rose, or a sheer beige that color-corrects the natural nail bed while hiding the free edge. The opacity is rarely a flat matte; instead, it leans towards a “jelly” or semi-sheer finish that allows light to pass through, mimicking the depth of natural keratin. The cuticle area is tapered to an almost invisible edge, ensuring the transition from skin to nail is flush and smooth, rather than a steep ridge.
Unlike traditional acrylics, which can look thick and bulky at the base, a high-quality press-on application creates a streamlined silhouette. It looks like a fresh BIAB (Builder In A Bottle) manicure—plump, glossy, and effortlessly groomed.
Nail Style Profile
| Feature | Description |
|---|---|
| Color Family | Nude, Milky White, Soft Pink, Greige |
| Opacity | Semi-sheer to Milky (Buildible coverage) |
| Finish | High-gloss, Jelly, or “Your Nails But Better” |
| Ideal Nail Length | Short to Medium |
| Ideal Nail Shape | Squoval or Soft Almond |
| Natural Look | Very Natural |
| Best For | Office professionals, photo shoots, minimalists, bridal |

Why The Minimal Press-On Look Has Taken Over
The surge in popularity for high-end press-ons isn’t just about saving time; it is about control and consistency. For the woman who curates her wardrobe with precision, having nails that chip or peel within days is unacceptable. This style offers the reliability of gel without the commitment or potential damage of soak-off systems.
Furthermore, the realism achieved by modern manufacturing means these nails improve the architecture of the hand. They can elongate shorter fingers and correct the appearance of wide nail beds, providing an instant, sleek uniformity that natural nails rarely achieve on their own.
How to Get This Nail Look
At a Nail Salon
If you prefer the salon experience, you are essentially asking for “Gel-X” or “soft gel extensions.” This is the professional precursor to the press-on. Ask your technician for a short, natural almond or squoval shape. Show them photos of “milky nails” or “clean girl aesthetic” manicures. Crucially, ask them to ensure the cuticle area is filed flush so there is no ridge as the nail grows out.
At Home
Achieving this at home requires selecting the right system. Traditional lacquer polish on natural nails often lacks the “plump” look of gel. Conversely, standard drugstore plastic nails can look flat. For those seeking that effortless aesthetic, our collection of clean girl press-ons offers the perfect starting point, utilizing soft-gel materials that mold to your natural nail shape for a custom fit.

Step-by-Step Application for the Most Natural Result
The difference between a set that lasts two days and one that lasts two weeks lies entirely in the preparation. Treat your bathroom vanity like a salon station.
1. The Chemical Prep
Natural oils are the enemy of adhesion. After pushing back your cuticles (gently, to create more surface area), buff the shine off your natural nail lightly. Pro Tip: Use a cotton pad soaked in 70% isopropyl alcohol or pure acetone to dehydrate the nail plate thoroughly. This “squeaky clean” base is non-negotiable for longevity.
2. Sizing Sidewall to Sidewall
Select a tip that fits comfortably from one side of your nail to the other without force. If you are between sizes, always choose the larger size and file the sides down. A tip that is too small will pop off as your natural nail flattens out, while a tip that is too large will irritate the skin and look artificial.

3. The 45-Degree Application
Apply your glue or adhesive tab to the press-on and a dot to your natural nail. Align the base of the press-on with your cuticle line at a 45-degree angle. Slowly lower the nail, pushing the glue towards the free edge to eliminate air bubbles. This technique prevents those unsightly white air pockets that ruin the translucent effect.
4. The Flush Finish
Once cured or set, take a glass file and gently buff the edge where the press-on meets your cuticle. This blurs the line of demarcation, making the extension look like it is growing out of your skin rather than sitting on top of it.

Common Press On Nails Mistakes That Ruin the Illusion
Even with the best materials, technique is paramount. Identifying these errors is the quickest way to elevate your home manicure.
Ignoring the Cuticle Gap
Placing the nail literally on the cuticle skin is a cardinal sin. This not only causes lifting within hours as the skin moves but also creates a bulky ridge. Always leave a microscopic gap—about a hair’s breadth—between the press-on and your cuticle skin.
Over-gluing
Flooding the nail with adhesive results in dried, crusty glue spilling out the sides. It ruins the clean lines of a minimalist look. Use enough glue to cover the surface, but control the flow. If you do experience spillover, clean it immediately with an angled brush dipped in acetone.
Using the Wrong Shape for Your Hand
While long coffins are dramatic, they rarely look “natural.” For a believable, high-end look, opt for shapes that mimic natural growth patterns. If you are unsure which style suits your lifestyle, you might find our guide on minimal nails for busy women helpful for selecting functional yet chic shapes.

Maintenance and Longevity
A high-quality application should last 10 to 14 days. To maintain that glass-like shine, treat your nails as jewels, not tools. Use the pads of your fingers to open cans or type.
Hydration is surprisingly important. While water weakens glue, oil keeps the plastic flexible and the surrounding skin healthy. Apply cuticle oil daily to prevent the press-on from becoming brittle and snapping. For a deep dive into keeping your set pristine, review our press-on nails care tips.
When it is finally time to switch up your look, never pry them off. Forced removal damages the keratin layers of your natural nail. Learning how to remove press-on nails safely ensures your natural nails remain healthy enough for your next application.

FAQ
How long can I realistically wear press-ons before they lift?
With proper dehydration and sizing, you can expect 10-14 days of wear. Adhesives tend to degrade naturally after two weeks due to hand washing and natural oil production.
Do press-on nails damage natural nails?
Damage is almost always caused by improper removal (prying or ripping) rather than the nails themselves. If soaked off gently with oil and soapy water or acetone, your natural nails should remain intact. According to experts at Allure, proper removal is the single most important factor in maintaining nail health.
Can I file press-on nails?
Absolutely. In fact, we encourage it. Filing the sides and free edge allows you to customize the shape to perfectly match your cuticle line and finger length, adding to the realism.
What is the difference between gel press-ons and plastic ones?
Soft gel tips are made from the same material as salon gel polish, meaning they are more flexible and look more natural. Standard plastic ABS tips are more rigid and often have a white cast that looks less realistic.

Conclusion
Mastering the art of the press-on is less about the product and more about the precision of your approach. By avoiding these common press on nails mistakes—sizing issues, poor prep, and rushing the application—you elevate a temporary solution into a signature style. Your hands are your calling card; with a little patience and the right technique, they can always look impeccably curated.