The Definitive Press On Nails FAQ: An Artist’s Guide to the Modern Manicure
There is a specific moment when a client realizes they no longer need to sit in a chair for two hours to achieve a flawless, high-gloss finish. The modern manicure has shifted. We are moving away from thick, damaging acrylics toward lighter, more flexible alternatives that mimic the natural nail plate. As a minimalist nail specialist, I have watched the minimal press-on trend evolve from a temporary fix into a legitimate beauty staple.
This style suits the uncompromising individual—someone who demands the elegance of a soft-gel extension but requires the versatility to change lengths for office work, events, or simply to let the nails breathe. It is the ultimate solution for those with naturally short nail beds or anyone seeking to curate their aesthetic without permanent modification. In this guide, I will walk you through the nuances of application and wear, addressing every detail in our comprehensive press on nails faq to ensure your hands look impeccably groomed.

The Visual Signature: What Modern Press-Ons Look Like
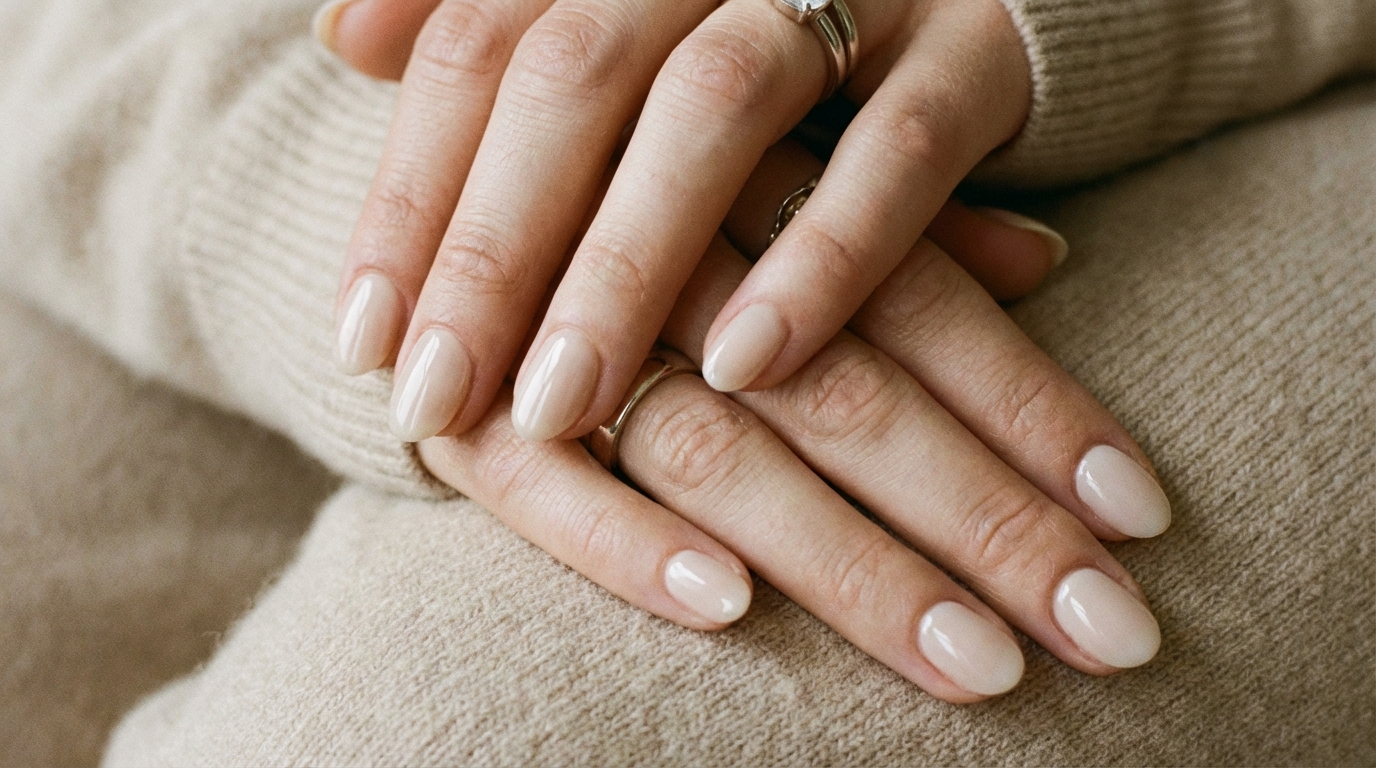
Forget the opaque, plastic squares of the past. The contemporary high-end press-on is designed to replicate the viscosity and light reflection of a sculpted gel manicure. Visually, the goal is indistinguishability from a salon soft-gel extension. The highest quality sets feature a gradient of thickness—sturdy at the free edge for durability, yet whisper-thin at the cuticle line (the proximal nail fold) to ensure a seamless flush fit.
In terms of color and finish, we look for depth. A sheer, milky pink should allow just a hint of the natural lunula to peek through, creating that coveted “your nails but better” effect. The finish should be glass-like, devoid of surface texture or ridges. Whether you prefer a short, practical squoval or a tapered almond, the silhouette must maintain a natural C-curve, avoiding the flat, flared look that betrays a lower-quality application.

Nail Style Profile
| Feature | Description |
|---|---|
| Color Family | Nudes, Milky Whites, Sheer Pinks, Soft Greige |
| Opacity | Semi-sheer to Semi-opaque (allows light transmission) |
| Finish | High-gloss, Jelly, or Soft-Gel texture |
| Ideal Nail Length | Short to Medium |
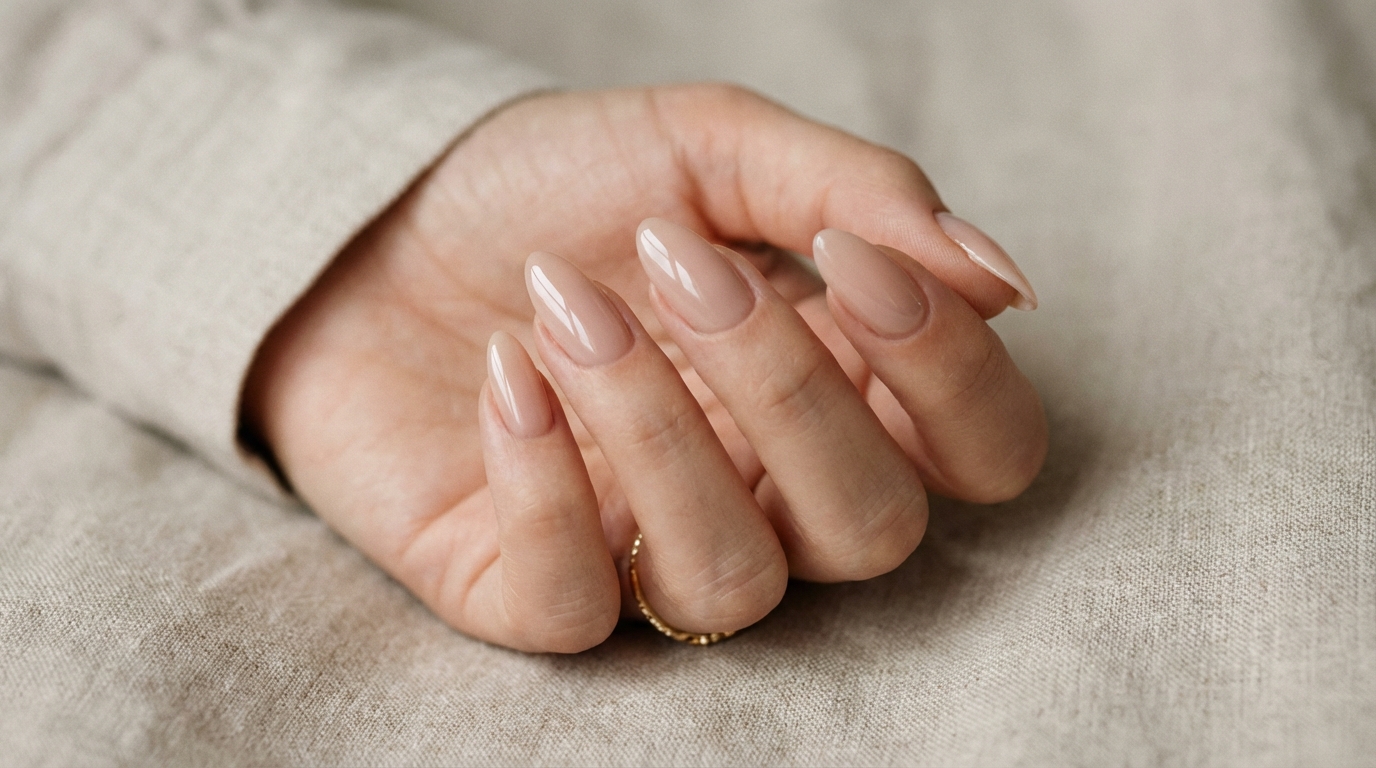
| Ideal Nail Shape | Soft Square (Squoval) or Tapered Almond |
| Natural Look | Very Natural (if cuticle fit is precise) |
| Best For | Minimalists, Office Professionals, Photoshoots, Weekend Events |
Why the “Press On Nails FAQ” is the Most Searched Topic in Manicures
The surge in interest surrounding this method stems from a desire for autonomy over one’s grooming rituals. Clients are discovering that high-quality press-ons offer a durability that rivals traditional polish while eliminating drying time entirely. The realism achieved by hand-painted or gel-cured press-ons has blurred the lines between a $100 salon visit and an at-home application.
Beyond convenience, there is the aspect of nail health. Unlike acrylics, which often require aggressive filing of the natural nail plate, press-ons can be applied with minimal surface disruption. This allows the hands to look impeccably styled while the natural nails beneath remain protected, provided removal is handled with care.

How to Achieve This Look
At a Nail Salon
If you prefer the salon experience but want the specific aesthetic of a high-end press-on, you are looking for “Soft Gel Extensions” or “Gel-X.” When booking, show your technician photos of nails with a blurred cuticle line and high transparency. Explicitly ask to avoid “bulky apexes” or thick acrylic application. The goal is a nail that looks like an extension of your finger, not an accessory sitting on top of it.
At Home
Achieving this finish at home requires discernment in product selection. Avoid generic drug-store kits that use rigid plastic. Instead, seek out “soft gel” press-ons or hand-painted sets. These materials are flexible, allowing them to mold to the unique arch of your natural nail bed, preventing the dreaded “pop-off” and ensuring a watertight seal.
Step-by-Step Application for a Flawless Result
The difference between a press-on looking “fake” and looking like a fresh gel manicure lies entirely in the preparation. Treat this as a ritual, not a race.

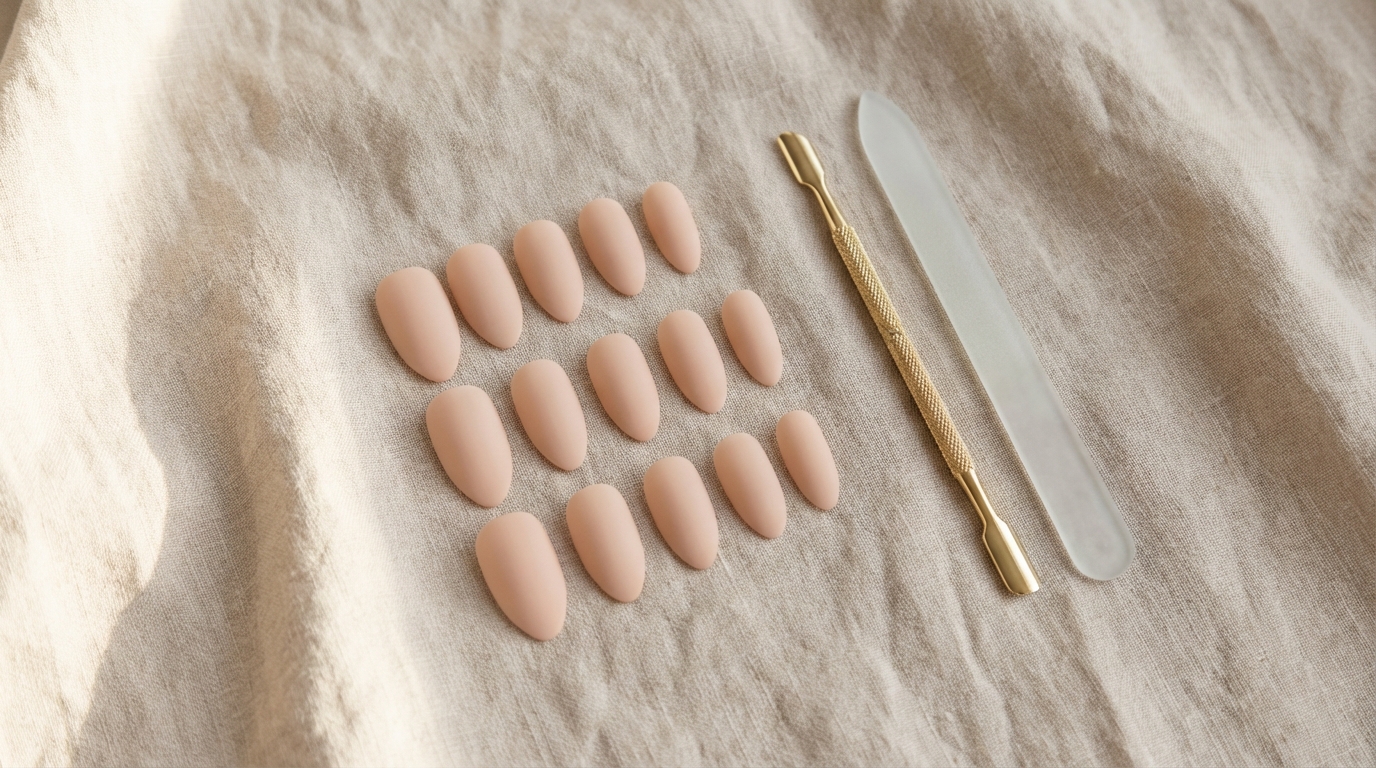
1. The Canvas: Prep and Dehydrate
Begin by gently pushing back the cuticle to reveal the entire nail plate. Any dead skin left on the nail will cause the glue to lift within days. Lightly buff the shine off your natural nail with a fine-grit buffer—we want texture for adhesion, not damage.
Pro Tip: Thoroughly wipe the nail with 70% alcohol or pure acetone to remove natural oils. This dehydration step is the single most critical factor for longevity.
2. Selection and Sizing
Fit is everything. A tip that is too large will overlap onto the skin, causing pain and inevitable lifting. A tip that is too small will expose your natural nail sidewalls. If you are between sizes, always choose the larger tip and gently file the sides down for a custom fit. For a detailed breakdown, read our guide on how to choose press-on nail size.

3. The Application Angle
Apply a drop of glue to your natural nail and a smaller drop to the back of the press-on tip. Align the press-on with your cuticle line at a 45-degree angle. Gently rock the nail down, pushing the air out toward the free edge. This technique prevents air bubbles, which not only look unsightly (appearing as white spots) but can also trap moisture.

4. The Final Seal
Hold firm pressure for at least 30 seconds, focusing on the cuticle area and the sidewalls. Once secured, keep your hands dry for at least one hour. This allows the adhesive to cure completely, ensuring the bond is water-resistant.
Common Mistakes That Create a “Fake” Appearance
The Floating Cuticle: Applying the nail too far from the cuticle line creates a gap that immediately signals a press-on. The edge of the artificial nail should tuck slightly under or sit perfectly flush against the proximal fold.
Ignoring the Sidewalls: If the press-on is narrower than your natural nail, your real nail will peek out from the sides. This disrupts the architectural line of the shape. Always ensure the artificial tip covers the nail plate from sidewall to sidewall.

Bulky Tips: Some press-ons are too thick at the base. Before applying, you can gently file the inside edge of the press-on (the part that touches your cuticle) to thin it out. This creates a gradient that blends imperceptibly with your skin.
Maintenance and Longevity
With proper application, a high-quality set should last 10 to 14 days. To maintain that glass-like sheen, apply cuticle oil daily. Hydrated skin makes any manicure look expensive. According to beauty experts at Byrdie, regular oiling also prevents the artificial material from becoming brittle.
Treat your nails as jewels, not tools. Use the pads of your fingers to open cans or type. If you decide to remove them early to switch styles, ensure you organize them properly. Refer to our article on how to store press-on nails to keep your reusable sets in pristine condition.

Expert Answers: The Press On Nails FAQ
How long do press-on nails realistically last?
With standard glue and proper prep (dehydration and buffing), you can expect 7–14 days of wear. Using adhesive tabs typically provides 1–2 days of wear, ideal for a single event or a weekend.
Do press-ons damage natural nails?
Damage is almost always caused by improper removal, not the product itself. Ripping or popping off the nails strips layers of your natural keratin. Always soak them off in warm soapy water and oil, or pure acetone if you do not plan to reuse them.
Which shape looks the most natural?
For a minimalist aesthetic, a short “squoval” (soft square) or a medium almond shape mimics the natural growth pattern of the nail most effectively. These shapes elongate the finger without looking manufactured.
Can I use gel top coat over press-ons?
Absolutely. Adding a layer of high-quality gel top coat (and curing it under a lamp) can add depth, seal the free edge, and extend the shine of your press-ons, making them virtually indistinguishable from a salon manicure.

Conclusion
The modern press-on is no longer a compromise; it is a stylistic choice for the discerning individual. It offers the freedom to change your look to match your mood while maintaining the high standard of grooming that minimalist style demands. By following these technical steps and avoiding common pitfalls, you ensure your hands always convey elegance and intention.