There was a time when the phrase “press-on nails” evoked images of flimsy, rigid plastic that popped off within an hour of wear. Today, the landscape of instant manicures has shifted dramatically. As a nail technician, I have watched the technology behind retail nails evolve into sophisticated, soft-gel structures that rival sculpted salon enhancements. The modern aesthetic of store press on nails is defined by precision, architectural uniformity, and a high-gloss finish that mimics the look of a fresh gel manicure without the appointment time.
This nail style—characterized by its flawless symmetry and smooth surface—suits the minimalist who demands perfection but requires flexibility. Whether you are a freelance creative who needs “camera-ready” hands for a shoot or an office professional seeking a clean, damage-free alternative to acrylics, this approach offers an immaculate, tailored appearance. It bridges the gap between convenience and high-end grooming, providing a solution for those who love the look of extensions but prefer the freedom of a removable style.

What this nail style looks like in real life
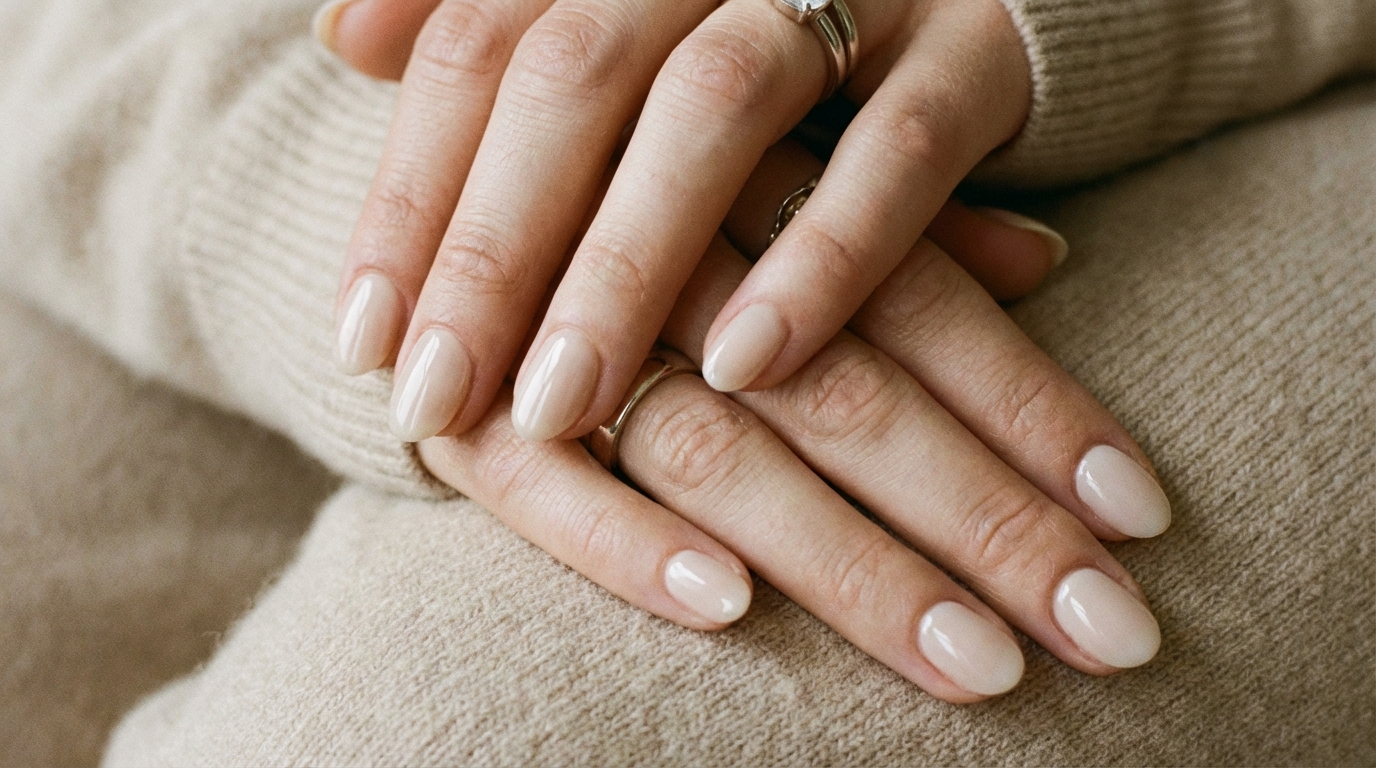
When done correctly, high-quality press-ons are indistinguishable from soft-gel extensions applied in a salon. Visually, the primary characteristic is structural perfection. Unlike natural nails, which may have ridges, slight asymmetry, or uneven C-curves, these enhancements offer a standardized, flawless canvas. The surface reflects light in a continuous, unbroken line—a feature we technicians call the “perfect highlight line,” indicating a smooth, high-gloss glass finish.
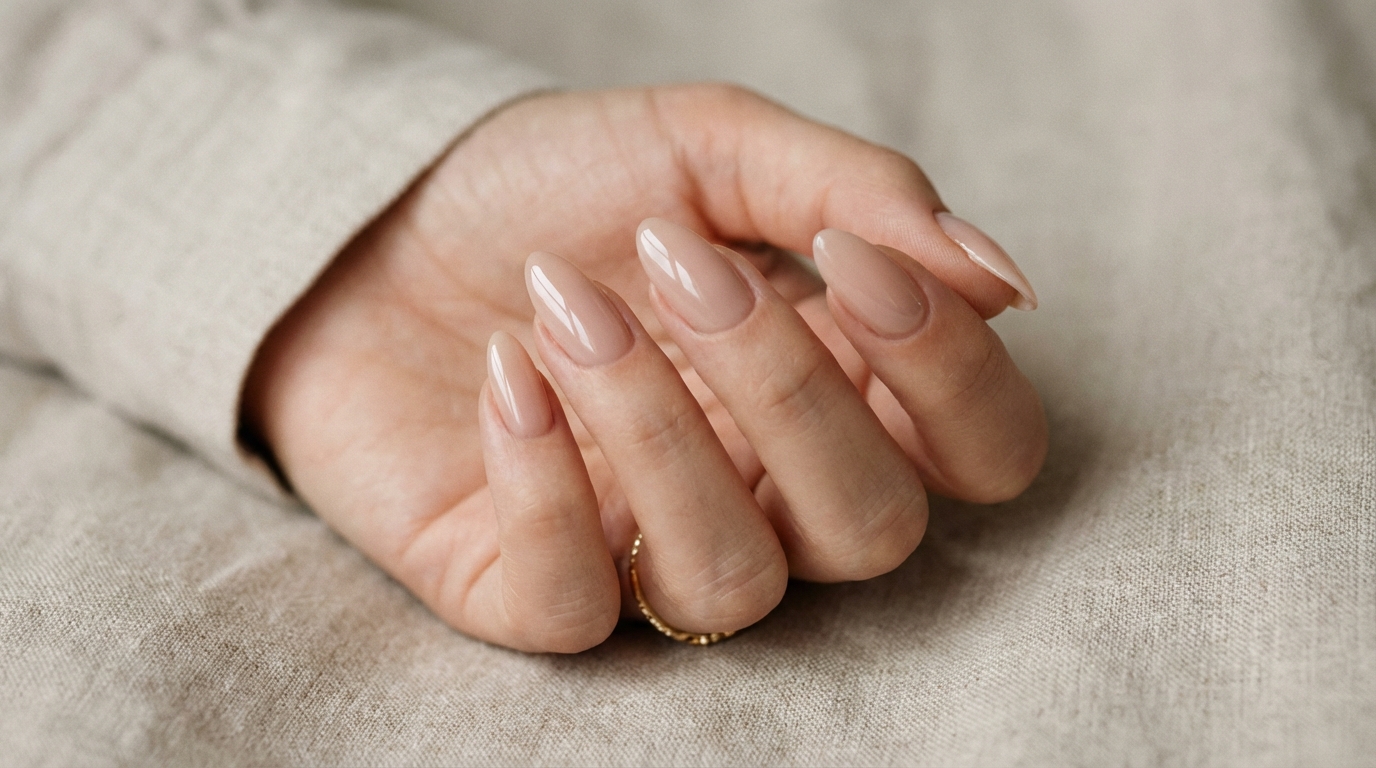
In terms of color and opacity, the most sophisticated versions lean towards semi-sheer milky pinks, soft oatmeals, and blurred nudes. This semi-translucency at the cuticle area is crucial; it mimics the natural graduation of the nail plate, preventing that harsh, opaque “ledge” that often betrays a fake nail. The finish is typically ultra-glossy, resembling a fresh top coat of gel, though velvet matte textures are increasingly popular for a modern, tactile feel. The shape is usually tapered—almond or soft coffin—creating a slenderizing effect on the fingers that natural nails struggle to maintain without reinforcement.
Nail Style Profile
| Feature | Description |
|---|---|
| Color Family | Nudes, Milky Whites, Soft Pinks, Muted Neutrals |
| Opacity | Semi-Sheer (cuticle) to Opaque (free edge) |
| Finish | High-Gloss Glass, Jelly, or Velvet Matte |
| Ideal Nail Length | Short to Medium |
| Ideal Nail Shape | Almond, Soft Square, Squoval |
| How Natural It Looks | Moderately Natural (depends on cuticle fit) |
| Best For | Events, Photoshoots, Protecting Natural Nails, Quick Changes |

Why “store press on nails” is so popular for everyday nails
The resurgence of store press on nails is not merely a trend; it is a response to the modern demand for modular beauty. Clients are increasingly prioritizing the health of their natural nail plate, moving away from the aggressive filing associated with traditional acrylics. High-end retail nails act as a protective shield, allowing the natural nail underneath to grow without exposure to environmental stressors or constant soaking in acetone.
Beyond health, the aesthetic consistency is a major draw. Achieving ten perfectly identical almond shapes with natural nails is technically difficult and rare. Press-ons provide that architectural consistency instantly. They offer a “groomed” appearance that signals attention to detail, elevating the overall presentation of the hands. For the modern minimalist, having a reliable, reusable manicure stored in their vanity means always being prepared for a meeting or event without the logistics of salon booking.
How to get this nail look
At a nail salon
While this guide focuses on the retail variety, you may wish to achieve this specific look—uniform, structured, and flawless—with the longevity of a professional application. If you visit a salon, asking for “regular polish” or even a “gel manicure” on natural nails will not yield this result if your natural nails are not already perfectly shaped.
Instead, ask for Full Coverage Soft Gel Extensions (often referred to by brand names like Gel-X). This service essentially uses professional-grade press-ons made of soft gel, which are adhered to your nail using uncured gel rather than glue. This creates a seamless, airtight bond that lasts 3–4 weeks. Show your technician photos of “structured gel manicures” or “soft gel tips” to ensure they understand you want that added apex and perfect symmetry, not just color on your natural nails.
At home
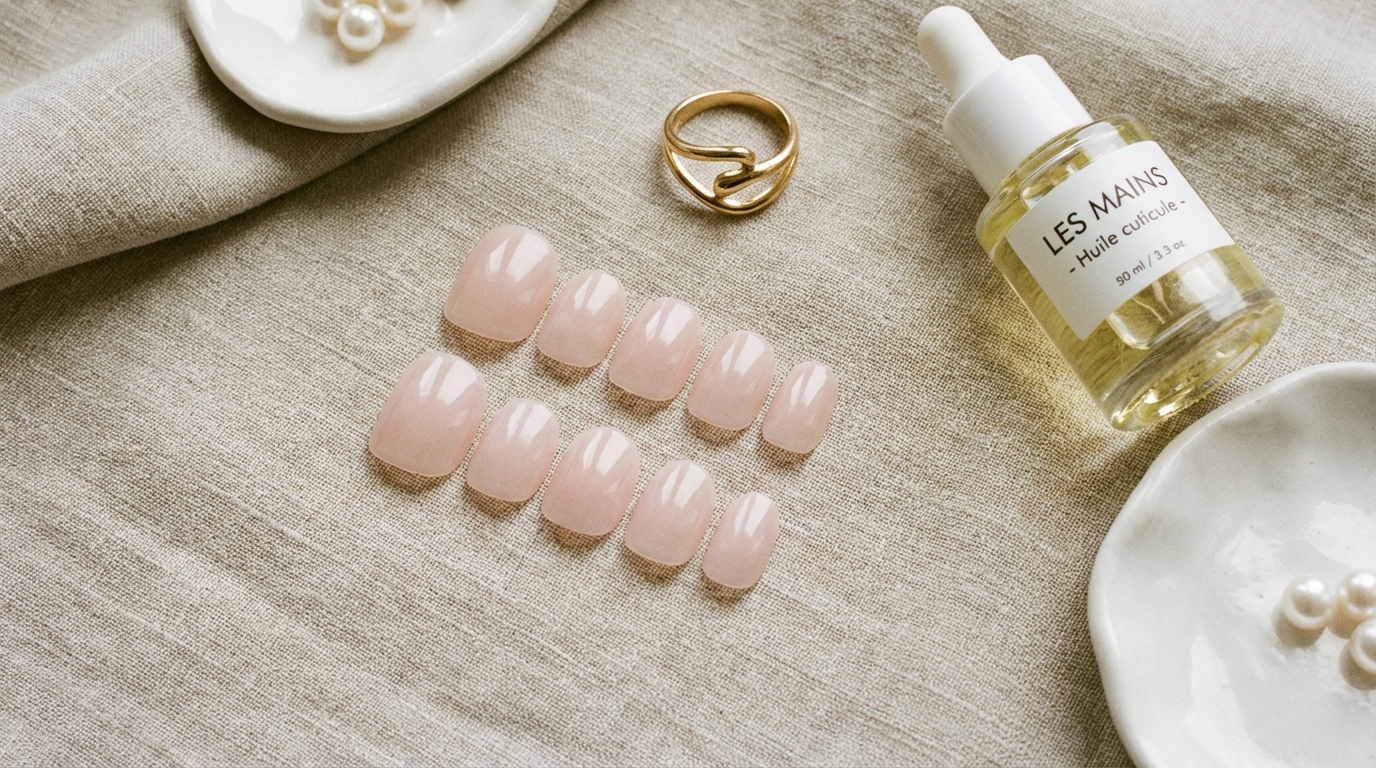
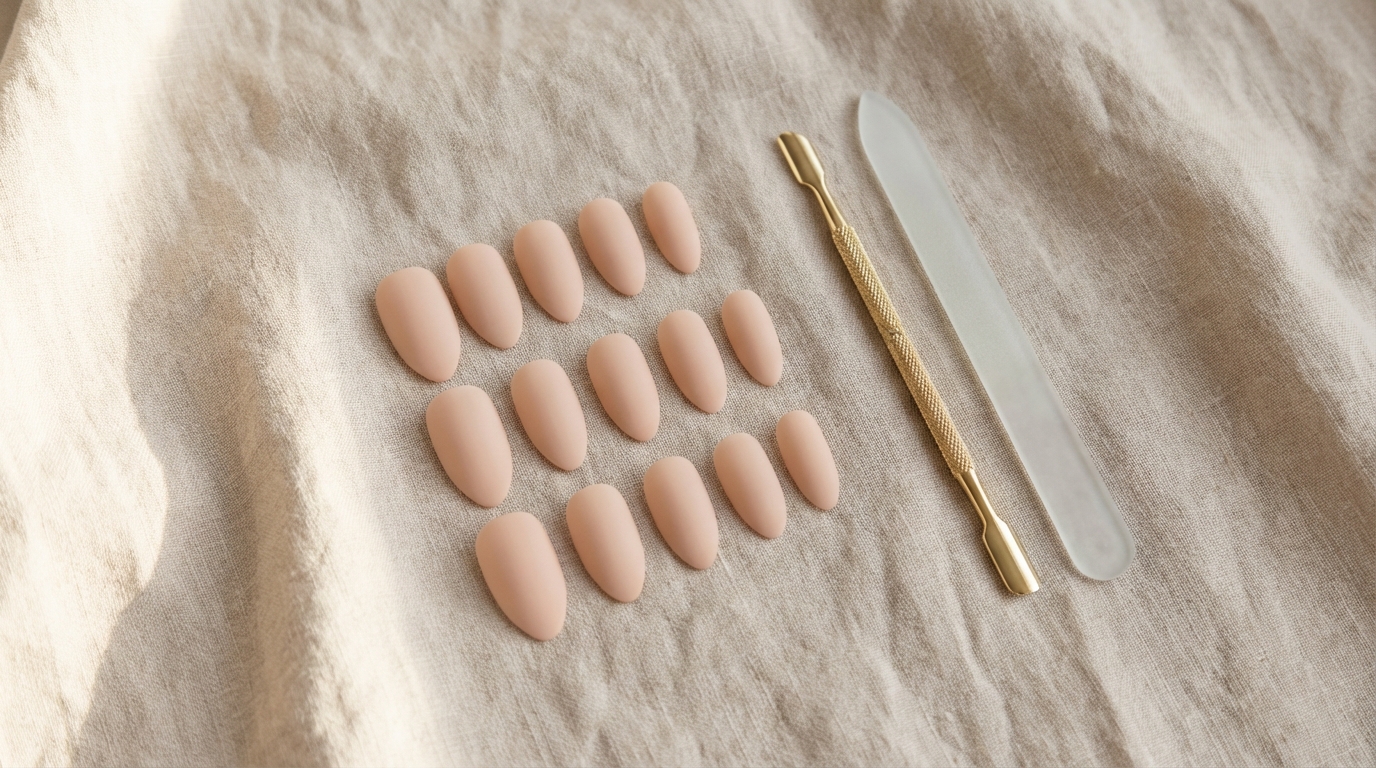
To replicate the salon aesthetic at home, the key is material selection. Avoid rigid plastic nails that show stress marks when bent. Look for “soft gel” or “acrylic resin” press-ons, which are flexible at the cuticle (for a snug fit) but durable at the tip. For the most natural finish, select gentle press-ons that feature a tapered cuticle edge. This thinning at the base is what allows the artificial nail to sit flush against your skin, mimicking the emergence of a natural nail.

Step-by-step application for the most natural result
The difference between a manicure that looks like plastic tabs and one that looks like a high-end gel set lies entirely in the preparation. Treat your application process as a ritual, not a race.
1. The Surgical Cleanse
Begin with bare nails. Any residue of oils, lotions, or old polish will act as a barrier to adhesion. I recommend wiping the nails down with pure acetone or 90% isopropyl alcohol. This dehydrates the nail plate temporarily, creating a “chalky” white appearance which indicates the surface is bone-dry and ready for bonding.
2. Cuticle Work and Size Selection
Gently push back your eponychium (cuticle) to reveal the full nail plate. When sizing your tips, the artificial nail must fit from sidewall to sidewall without touching the skin. If you are between sizes, always choose the larger size and gently file the sides down. A tip that is too small will pop off due to pressure, while one that is too large will lift at the edges.
3. Creating Texture
Lightly buff the surface of your natural nail with a fine-grit buffer. We are not trying to thin the nail, but rather to “rough up” the surface to increase surface area for the glue. This mechanical adhesion is the secret to longevity.
4. The “Flooding” Technique
Apply a thin layer of glue to your natural nail and a small bead of glue to the back of the press-on tip. Align the tip at a 45-degree angle near your cuticle—but not touching it. Slide it down until it meets the cuticle line perfectly, then press down slowly to the free edge. This technique pushes air bubbles out and ensures the glue covers the entire nail plate, preventing those unsightly white air pockets that ruin the illusion of realism.
5. The Flush Finish
Once adhered, use a glass file to refine the tip shape. If there is any microscopic ledge where the press-on meets your cuticle, take a brush dipped in acetone and gently melt that edge for a seamless transition.

Common mistakes that make nails look fake or bulky
The “Pop-Off” Gap
Applying a press-on that is too flat to a nail with a high natural arch (or vice versa) creates tension. This gap not only weakens the bond but creates a thick, bulky appearance. If you have naturally flat nails, look for “natural fit” press-ons rather than “sculpted” ones, which have a deeper C-curve.
Ignoring the Sidewalls
Often, store-bought nails are slightly wider than the natural nail bed. If the plastic overlaps onto your skin, it will lift within hours and catch on hair/clothing. Taking ten seconds to file the sides of the press-on for a tailored fit makes the difference between a $10 look and a $100 look. For more on managing length and width, see our guide on Short Nails That Look Clean and Polished.
Heavy Glue Application
More glue does not always equal better hold. Excess glue that spills out onto the skin dries into crusty, white residue that immediately signals “fake nails.” Precision is key; you want enough to cover the plate, but not so much that it floods the cuticle well.

Maintenance and longevity
A high-quality application should last 10 to 14 days. To maintain the glossy finish, treat your hands as you would with a fresh gel manicure. Wear gloves when washing dishes or using cleaning chemicals, as hot water and detergents break down the cyanoacrylate bonds in the glue over time.
If you notice the shine dulling after a few days, wipe the nails with alcohol to remove surface oils. You can even apply a layer of regular top coat to refresh the gloss. If a nail does lift, do not glue it back on over the old glue. Remove it properly, buff the dried glue off the natural nail and the press-on, and re-apply fresh. This prevents bacterial growth and ensures the nail sits flush again.
For those who build a collection of reusable custom press-ons, storage is vital. Keep your sets in a compartmentalized organizer away from direct sunlight, which can yellow the resin and make the material brittle.

FAQ
How long can I realistically wear press-ons before they damage my nails?
With proper removal, press-ons are non-damaging. The damage usually comes from prying them off, which rips layers of keratin from the nail plate. If you soak them off gently with warm soapy water and oil (or pure acetone for a quick removal), you can wear them back-to-back without issue. For beginners, check our Press-On Nails FAQ for Beginners.
Can I shower and wash my hair with press-on nails?
Yes, but I recommend waiting at least 2 hours after application before submerging your hands in water. This allows the adhesive to fully cure. When washing hair, use the pads of your fingers or a scalp massager brush to avoid snagging the hair underneath the base of the nail.
What is the best shape for making fingers look longer?
A soft almond or oval shape is universally flattering. It elongates the nail bed and creates a slender visual line. Avoid wide, sharp squares if you are looking to minimize width.
Why do my press-ons hurt my natural nails?
Pain usually indicates the press-on is too small. The plastic is trying to flatten out to its original shape, pulling up on your natural nail plate. Always size up and file down the sides for a comfortable, tension-free fit.

Conclusion
Embracing store press on nails is not about compromising on quality; it is about taking control of your aesthetic. With the right preparation and an eye for detail, you can achieve a finish that is indistinguishable from high-end salon work. It requires patience to learn the nuances of sizing and adhesive control, but the result—a flawless, durable, and protective manicure—is worth the effort. Whether you are rotating styles for the season or simply keeping a clean, nude set for professional polish, this method offers the ultimate flexibility for the modern nail enthusiast.