There is a specific, quiet luxury to a manicure that looks entirely effortless. The kind where the cuticle line is seamless, the apex is gentle, and the finish rivals the highest-quality soft gel. For my clients who prefer the versatility of temporary enhancements, the sudden loss of a nail shatters that illusion instantly. The frustration when press on nails fall off prematurely is not just about the inconvenience; it disrupts the polished, put-together aesthetic we strive for.
This style of manicure—characterized by its clean, architectural shape and seamless fit—is ideally suited for the modern minimalist. It works beautifully for short to medium lengths, favoring those who need their hands to look impeccable for client meetings or content creation but cannot commit to the weeks-long wear of salon acrylics. The allure lies in the ability to change your look without damage, provided the application is technically sound.

What This Nail Style Looks Like in Real Life
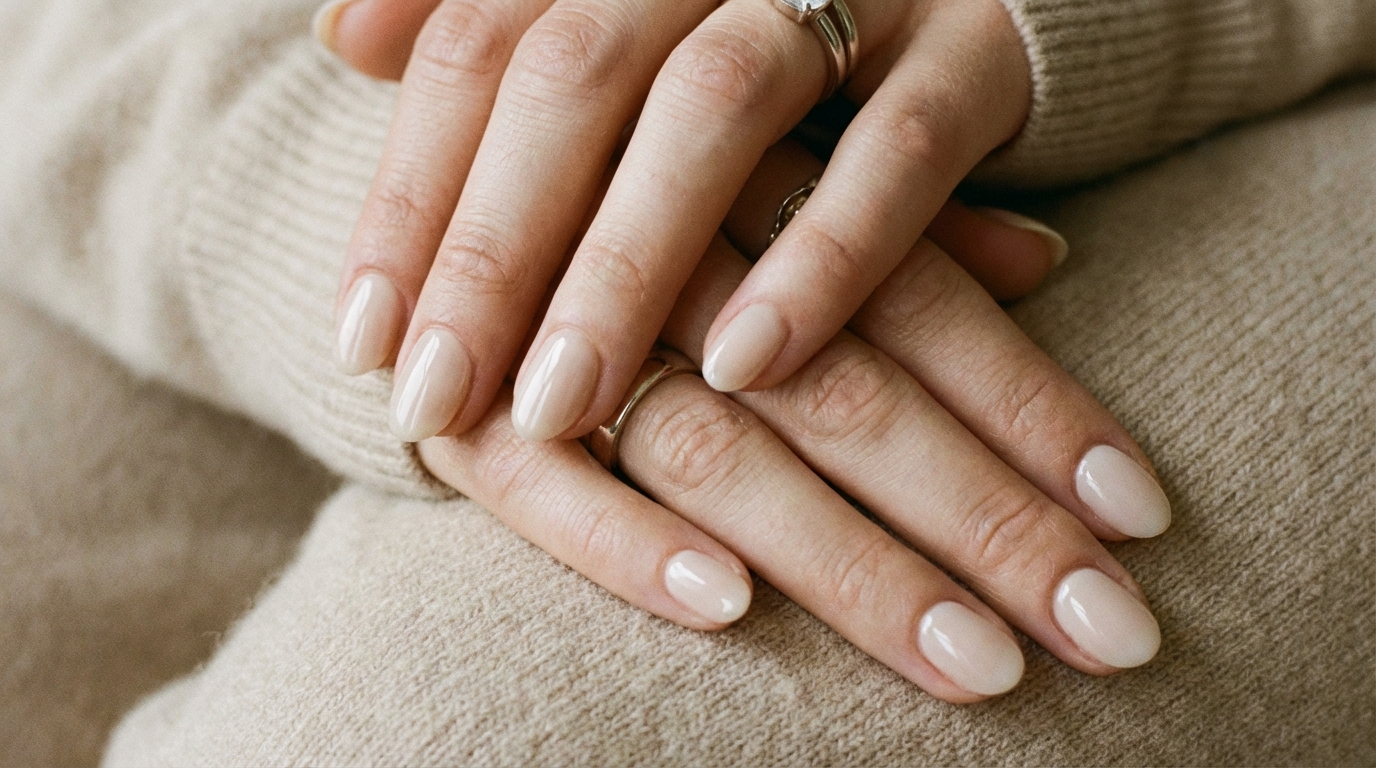
When applied correctly to prevent lifting, a high-end press-on manicure should be visually indistinguishable from a salon-applied structured gel overlay. We are looking for a specific interplay of light and texture. The color should possess a creamy, self-leveling appearance, avoiding the flat, plastic look of drugstore varieties.
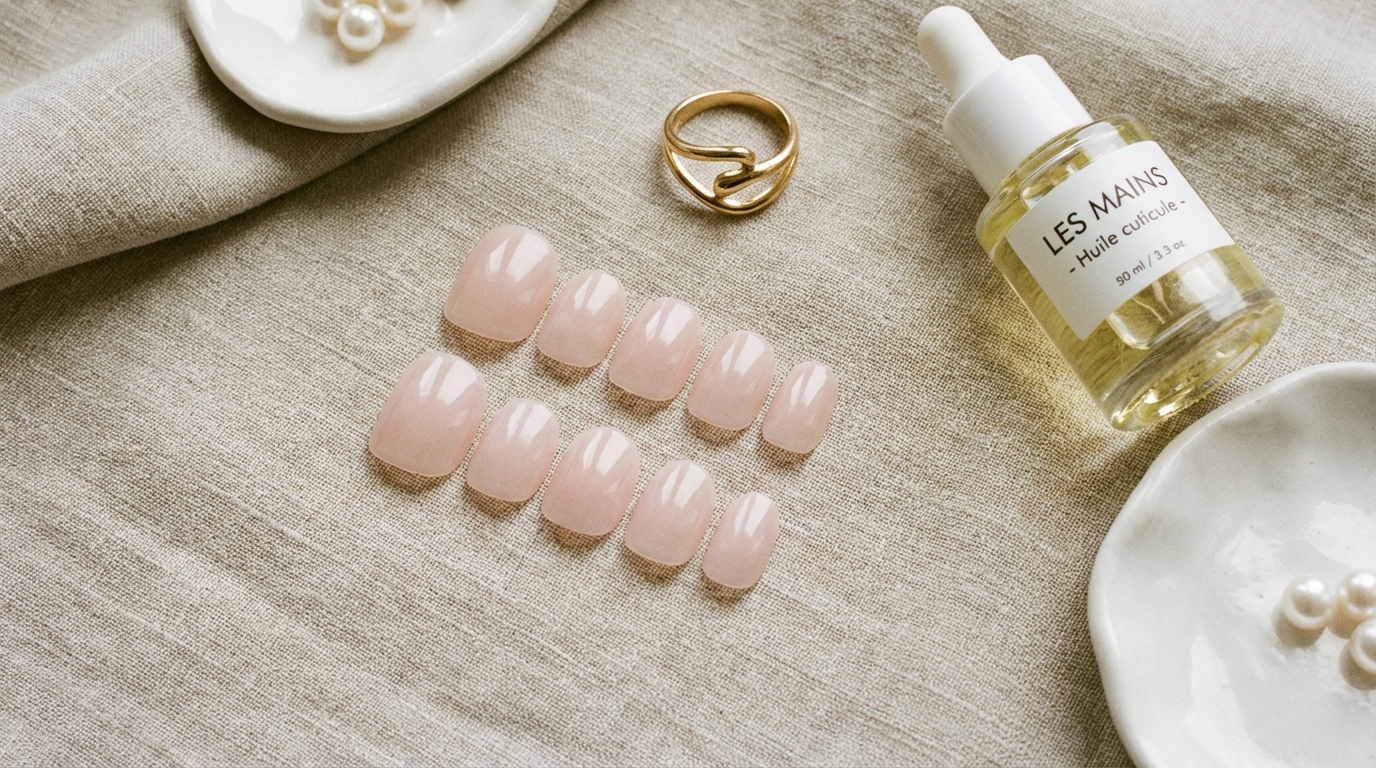
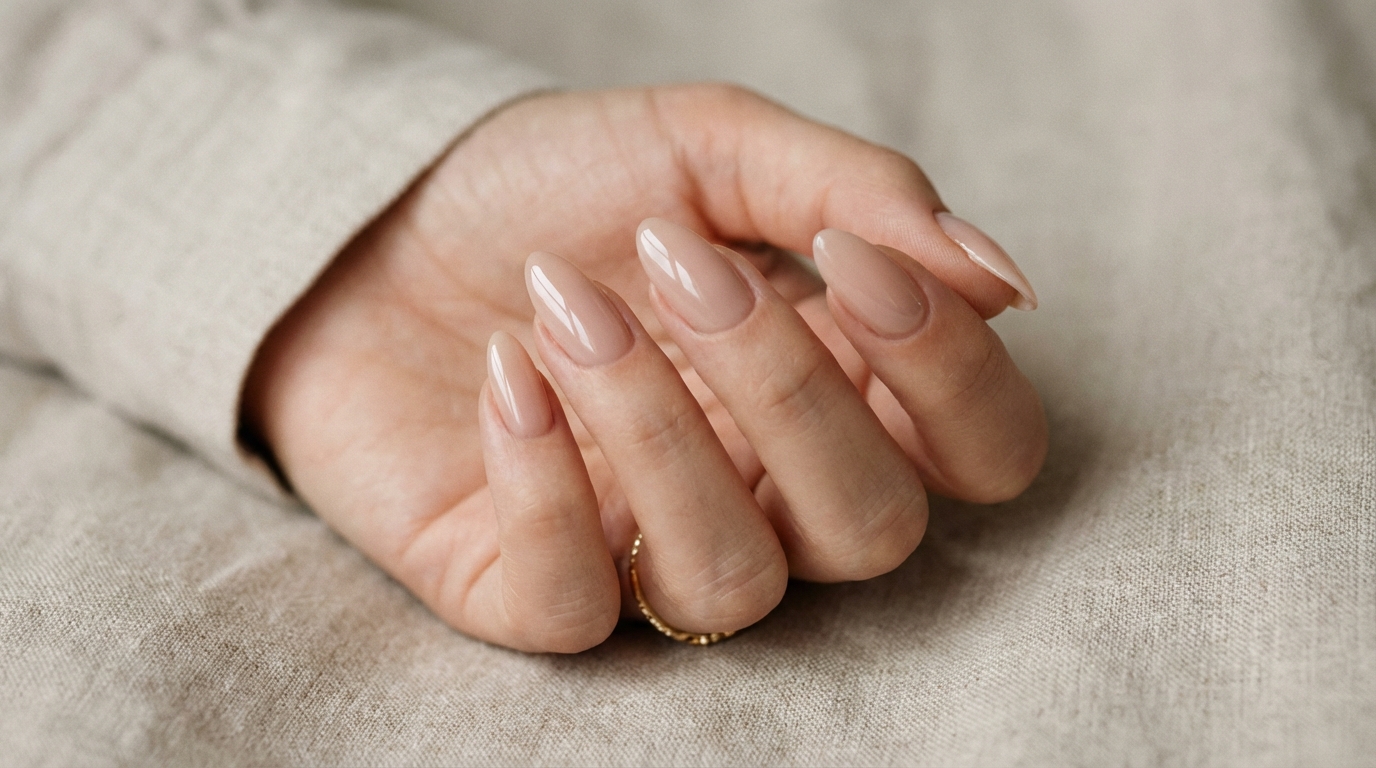
Color & Opacity: The most sophisticated versions of this look lean towards milky nudes, sheer rose-quartz pinks, or opaque taupes. The goal is to mimic the natural nail bed but better—a concept often referred to as “my nails but better” (MNBB). A semi-sheer opacity is particularly effective as it allows light to pass through slightly near the free edge, mimicking the translucency of natural enamel.
Finish & Texture: The hallmark of a secure, professional press-on is the “glass skin” finish. It should have a high-gloss, wet look that reflects light in a continuous line down the center of the nail plate. Unlike standard polish which can dry dull, high-quality press-ons maintain a gel-like luster.
Shape & Architecture: Whether you prefer a soft almond or a crisp squoval, the sidewalls must be tapered perfectly to align with your natural finger width. The key differentiator between a cheap set and a luxury set is the cuticle area; it should be thin and flexible, graduating to a stronger, thicker free edge.
Below is the profile for the ideal minimal aesthetic we aim to achieve through proper application.
Nail Style Profile
| Feature | Description |
|---|---|
| Color Family | Neutral, Milky, Sheer Pink, Soft Taupe |
| Opacity | Semi-sheer to Opaque (Cream finish) |
| Finish | High-gloss, Glassy, Gel-like |
| Ideal Nail Length | Short to Medium (active length) |
| Ideal Nail Shape | Soft Almond or Squoval |
| How Natural It Looks | Very Natural (if cuticle fit is flush) |
| Best For | Office professionals, Content creators, Minimalists, Event-specific wear |

Why “Press On Nails Fall Off” Is a Common Search
It is the most common grievance in the DIY nail community. The reason “press on nails fall off” trends so frequently is rarely due to the quality of the nail tip itself, but rather the chemistry of adhesion. When a press-on stays put, it offers a level of perfection that is difficult to replicate with traditional lacquer. It smooths out ridges, corrects the C-curve, and provides an instant length that elongates the fingers.
However, when the bond fails, the nails look bulky, lift at the edges (catching in your hair), and eventually pop off. Achieving the durability of a salon set requires understanding the biology of the nail plate—specifically, how oils and moisture act as barriers to longevity.
How to Get This Look
At a Nail Salon
If you love the aesthetic of a flawless press-on but struggle with DIY longevity, you can request a similar look from a professional technician. Ask for Soft Gel Extensions (often called Gel-X). This system uses full-cover tips made of gel, cured onto your natural nail.
- What to ask for: “A structured soft gel extension with a sheer, milky nude color.”
- Visual cues: Show photos of short, almond-shaped nails with a blurred cuticle line.
- What to avoid: Avoid thick acrylics or dip powder if you want that translucent, natural press-on aesthetic. Acrylics can often look too bulky for a minimalist vibe.
At Home
To replicate the salon experience at home, move away from plastic tabs and drugstore kits. Opt for high-quality, reusable acrylic-free press-ons made from actual gel. These offer the flexibility needed to mold to your natural nail shape, creating a suction-like fit that rigid plastic cannot achieve.

Step-by-Step Application for the Most Natural Result
Preventing your nails from popping off begins long before the glue touches the nail. It is about surface engineering. Here is the technical protocol I recommend for a 2-week wear time.
1. The “Dry” Prep
Water is the enemy of adhesion. Your natural nail plate is porous, like a sponge. If you soak your hands before application, the nail plate expands. As it dries and shrinks hours later, the bond with the glue snaps. Perform a completely dry manicure. Push back the proximal nail fold gently to expose the entire nail plate.
2. Chemical Dehydration
This is the step most people skip. After buffing the surface of your nail to remove shine, you must strip the oils. Use a lint-free wipe saturated in 90% Isopropyl Alcohol or a professional dehydrator. Scrub the nail plate, getting deep into the sidewalls.
Pro Tip: Once you have dehydrated your nails, do not touch them with your fingertips. The oil from your skin will instantly re-contaminate the surface.

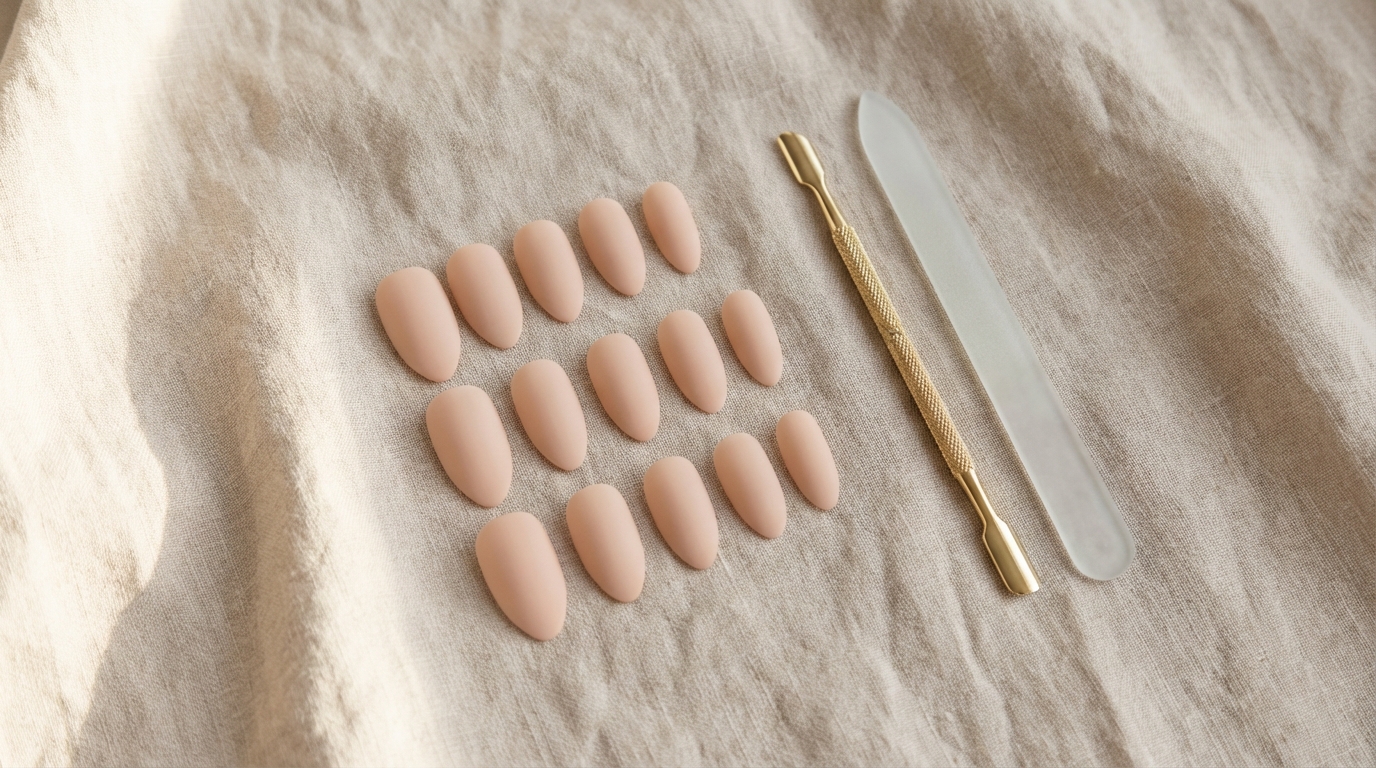
3. Sizing and Shaping
Fit is critical. A press-on that is too large will overlap onto your skin, causing immediate lifting. A press-on that is too small will pop off due to tension. Select a tip that fits sidewall to sidewall perfectly. If you are between sizes, choose the larger size and file down the sides for a custom fit.
4. The Application Angle
Apply a thin layer of glue to your natural nail and a drop to the back of the press-on. Align the tip with your cuticle line at a 45-degree angle. Press down slowly to push the air bubbles out towards the free edge. Hold firmly for 30–60 seconds. This pressure is vital for the adhesive to cure without air pockets.

Common Mistakes That Make Nails Look Fake or Bulky
Even the most beautiful color will look artificial if the application is clumsy. Here is where the illusion breaks.
The “Floating” Cuticle
If you glue the nail too far away from the cuticle, or if the press-on is too thick at the base, you get a “ridge.” It looks like a grown-out acrylic. High-quality press-ons have a tapered cuticle area. If yours are thick, lightly file the back edge before applying to thin it out.
Flooding the Sidewalls
Using too much glue causes overflow onto the skin. This hardens into a crusty, white residue that ruins the clean, minimalist lines. It also causes the nail to lift as your skin moves naturally. Use precision nozzle glues to control the flow.

Maintenance and Longevity
Now that your application is flawless, maintenance is about protection. Treat your nails like jewels, not tools. While modern adhesives are strong, torque and water are their weaknesses.
Water Exposure: Wait at least 2 hours after application before wetting your hands. This allows the adhesive to fully set. For long-term wear, wear gloves when doing dishes. Prolonged submersion softens the glue bond.
Hydration: Keep the surrounding skin hydrated to maintain that expensive, salon look. Apply cuticle oil daily, but be strategic. Focus on the skin, not the seam where the nail meets the cuticle, as oil can eventually break down the glue.
For more details on keeping your natural nails healthy underneath, check our guide on Press-On Nails FAQ for Beginners.

FAQ
Why do my press-on nails pop off after one day?
This is almost always an issue of oil or moisture. If you didn’t buff the shine off your natural nail or skipped the alcohol wipe, the glue is adhering to your natural oils, not the keratin of the nail. Dehydration is the most critical step.
Does the shape affect how long they last?
Yes. Longer shapes like stilettos or long coffins have more surface area to catch on things, creating more leverage that can pop the nail off. For the longest wear, stick to active lengths like short almond or squoval.
Can I use gel glue with press-ons?
You can use a builder gel to adhere clear full-cover tips (cured with a UV lamp), but you cannot use UV gel to adhere opaque, pre-painted press-ons. The light cannot penetrate the color to cure the gel, leaving you with uncured chemical exposure. Stick to nail glue or adhesive tabs for pre-painted sets.
How do I remove them without damage?
Never rip them off. According to Allure’s expert guide on removal, patience is key. Soak your hands in warm soapy water with a little oil to break down the adhesive bond gently. This ensures your natural nail layers remain intact.

Conclusion
The fear that your press on nails fall off at an inopportune moment shouldn’t deter you from enjoying this versatile, minimalist nail style. When you approach press-ons with the same technical precision as a salon service—focusing on dry prep, correct sizing, and moisture control—you unlock a world of convenient, high-fashion manicures.
It takes a little practice to master the glue-to-nail ratio, but once you do, you achieve a result that is clean, durable, and unmistakably chic. Your hands are an extension of your style; with the right technique, they will always look effortlessly polished.