In my years working behind the nail desk, the most common hesitation I hear from clients shifting away from acrylics or harsh gels is a simple question regarding the health of their natural nail plate. There is a misconception that artificial enhancements always equal damage, but that narrative is changing rapidly.
The modern minimalist manicure isn’t just about a clean aesthetic; it is about maintaining the integrity of the canvas underneath. When applied correctly, with precision and the right preparation, press on nails safe protocols allow you to enjoy a flawless, high-gloss finish without sacrificing the health of your natural nails. This style offers the structured look of a salon gel overlay—perfect for the office, weddings, or anyone needing a polished look that can be removed in minutes.
It is the perfect solution for those who love the look of short nails that look clean and polished but struggle with breakage or simply don’t have the time for bi-weekly salon appointments.

What This Nail Style Looks Like in Real Life
When we talk about high-end press-ons, we are not referring to the plastic-looking tabs of the past. A quality minimalist press-on mimics the appearance of a soft-gel extension or a structured BIAB (Builder in a Bottle) manicure. Visually, the result should be indistinguishable from a salon visit.
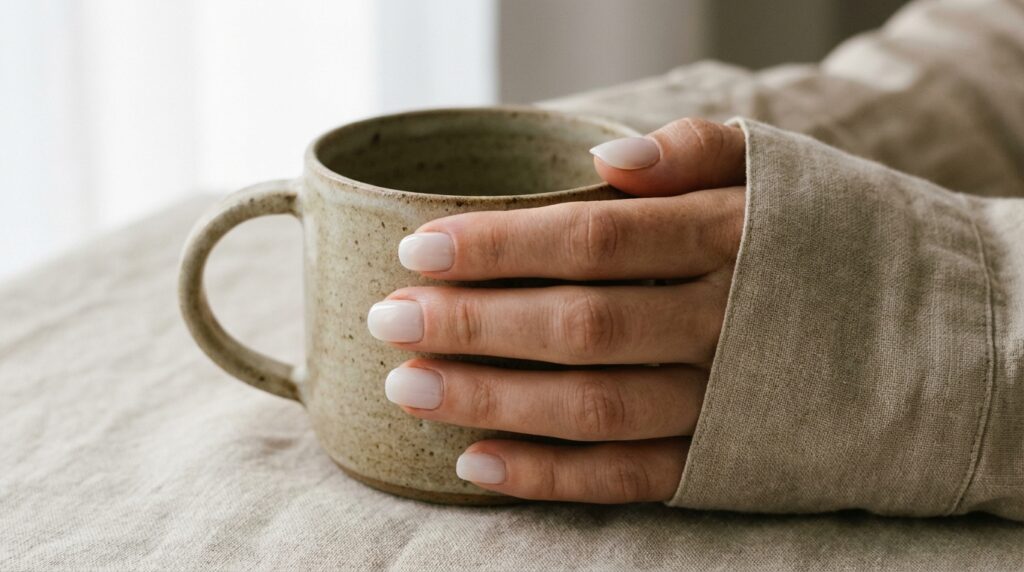
Color & Opacity: The most sophisticated sets usually feature semi-sheer or milky opacities. Think “your nails but better”—soft blush pinks, creamy oat milk shades, or translucent nudes that blur the free edge of your natural nail without completely covering the lunula.
Finish: The hallmark of this look is a glass-like, high-gloss finish. Unlike standard nail polish which can dull after a few days, quality press-ons retain a gel-like reflection that catches the light, making the hands look hydrated and youthful.
Shape & Length: To maintain realism, the best shapes are short-to-medium soft square (squoval) or a tapered almond. These shapes follow the natural growth pattern of the nail matrix, ensuring the press-on sits flush against the finger rather than lifting awkwardly.

Nail Style Profile
| Feature | Description |
|---|---|
| Color Family | Nude, Milky White, Soft Blush, Sheer Pink |
| Opacity | Semi-sheer to Opaque (Milky) |
| Finish | High-gloss, Jelly, or Soft-Gel shine |
| Ideal Nail Length | Short to Medium |
| Ideal Nail Shape | Squoval or Tapered Almond |
| How Natural It Looks | Very Natural (if cuticle fit is precise) |
| Best For | Office, Minimalists, Nail Rehab, Events |
Why “Press On Nails Safe” is So Popular for Everyday Nails
The surge in popularity isn’t just about convenience; it is about nail health preservation. Traditional acrylics require etching the nail plate to create adhesion, often thinning the nail over time. In contrast, the “press on nails safe” philosophy focuses on temporary adhesion that doesn’t chemically bond to the keratin of your nail.
For my clients recovering from damage, this method acts as a protective shield. It covers the natural nail, preventing you from picking or biting, while allowing the nail underneath to grow out unencumbered by heavy polymers. It allows for the visual elegance of a manicure without the commitment or potential trauma of e-file removal.

How to Get This Nail Look
At a Nail Salon
If you prefer the salon experience, you aren’t asking for “press-ons” in the traditional sense. Instead, ask for Soft Gel Extensions (often called Gel-X). This is the professional equivalent. The tech uses a full-coverage tip made of gel, adhered with liquid gel.
What to show: Bring photos of “structured gel manicures” or “clean girl aesthetic” nails. Request a “flush cuticle application” so the growth looks seamless.
What to avoid: Avoid standard acrylic tips if your goal is the press-on look. Acrylic is bulkier and lacks the natural flexibility that gives this style its comfort.
At Home
Achieving this at home is entirely possible and often yields a more natural result because you can take your time sizing each finger. You want to look for kits that are labeled “soft gel” or “flexible fit.” Rigid plastic nails will pop off and look artificial.
If you are exploring options, I recommend looking into cost-saving press-ons that mimic high-end brands. You do not need to spend a fortune to get a believable finish; you just need the right shape and a good glue.

Step-by-Step Application for the Most Natural Result
The difference between a set that looks fake and one that looks like a $100 manicure lies entirely in the prep work. Do not rush this stage.
1. The Canvas: Nail Prep
Start with completely clean hands. Gently push back the proximal nail fold (cuticle) using a wooden stick or metal pusher. This step is non-negotiable; if you glue the nail over the skin, it will lift within hours and catch on your hair.
2. Etching and Dehydrating
Lightly buff the shine off your natural nail with a high-grit buffer. We aren’t trying to thin the nail, just giving the adhesive something to grip.
Pro Tip: Wipe every nail with a lint-free wipe soaked in 70% isopropyl alcohol or pure acetone. This removes hidden oils that are the enemy of longevity.
3. Sizing the Tip
Measure the press-on against your nail bed. It should fit sidewall to sidewall without you having to press it flat. If you are between sizes, always choose the larger size and gently file the sides down. A size too small will pop off due to tension.
4. Application with the “Rocking” Method
Apply a small bead of glue to the press-on and a thin layer to your natural nail. Align the press-on at a 45-degree angle near the cuticle—but not touching it. Press down slowly to push the air out towards the free edge. This prevents air bubbles, which look like white spots under sheer colors.

Common Mistakes That Make Nails Look Fake or Bulky
Even with the best “press on nails safe” kit, poor technique can ruin the illusion. Here is what I often correct:
- The “Flooded” Cuticle: This happens when the press-on is glued right on top of the cuticle skin. It creates a bulky ridge that looks obviously plastic. Always leave a hair’s breadth of space between the press-on and your skin.
- Wrong Undertones: Just like foundation, nude nails have undertones. If you have cool skin and choose a yellow-based nude, your hands will look red. If you struggle with this, minimal nails for a winter clean look often feature neutral, milky tones that suit almost everyone.
- Ignoring the Shape: Most press-ons come with a generic shape. Take a file and tailor the edges to your fingers. A little tapering at the sides instantly makes them look custom-fitted.

Maintenance and Longevity
A well-applied set should last 10 to 14 days. To keep them looking fresh:
Water is the Enemy: For the first 2 hours after application, avoid water entirely. This allows the adhesive to fully cure. Wear gloves when doing dishes—hot water breaks down the glue bond faster than anything else.
Keep Them Glossy: Press-ons can scratch. Apply a fresh coat of regular clear top coat every 3-4 days to restore that “wet look” shine.
Hydrate: Apply cuticle oil daily. It keeps the press-on flexible and prevents your natural nail from curling away from the adhesive underneath.

FAQ
Do press-on nails damage your natural nails?
No, not if removed correctly. Damage usually comes from ripping them off, which peels layers of your natural keratin. Always soak them off in warm soapy water and oil, or use a dedicated glue remover.
How long can I wear them safely?
I recommend wearing them for no longer than two weeks. Beyond this, moisture can get trapped between the enhancement and your natural nail, potentially leading to bacterial issues (often called “greenies”).
Can I use gel top coat on standard press-ons?
Yes, and I highly recommend it for durability. Lightly buff the surface of the press-on, apply a gel base coat, cure, and then apply a gel top coat. This essentially turns a drug-store nail into a salon-grade finish.
Are they better than acrylics?
For nail health, generally yes. According to beauty experts at Allure, press-ons and soft gels are significantly more flexible and easier to remove than hard acrylics, resulting in less trauma to the nail plate.

Conclusion
Embracing the press-on life doesn’t mean lowering your standards. In fact, it gives you the freedom to change your look as often as you change your outfit, all while keeping your natural nails protected. By following these professional protocols, you ensure that your manicure isn’t just beautiful—it’s a safe, healthy choice for your hands.
Don’t be afraid to experiment with shapes and sheerness until you find your signature fit. The perfect minimal manicure is quite literally at your fingertips.