There is a specific moment of panic every client describes when they first switch from acrylics to press-ons. It happens about twenty-four hours after application, usually while shampooing. You run your fingers through your hair, the hot water is steaming, and you feel that dreaded snag—a strand of hair catching under the cuticle line of your nail.
It is the tell-tale sign of a compromised seal. However, when applied with professional-grade precision, you can absolutely shower with press on nails without fear of lifting, popping, or snagging. In fact, a correctly applied minimal manicure should feel indistinguishable from a salon gel set, even when submerged.
This look is for the modern minimalist who demands functionality alongside aesthetics. It suits the busy professional who needs a high-gloss, pristine manicure that withstands daily rituals—from morning showers to evening skincare routines—without betraying the fact that it was applied at home. It is about achieving a hermetic seal that looks as seamless as it feels.

The Aesthetic: The Seamless “Waterproof” Finish
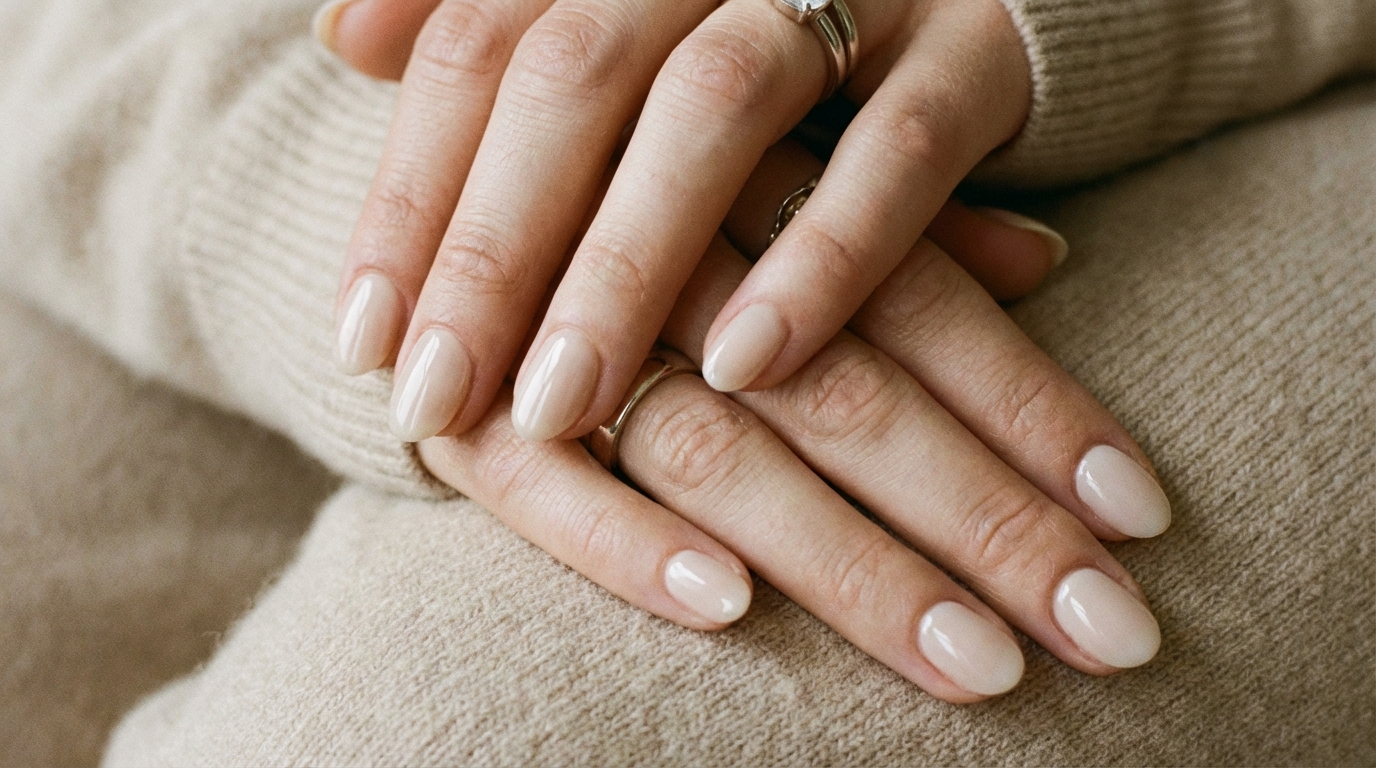
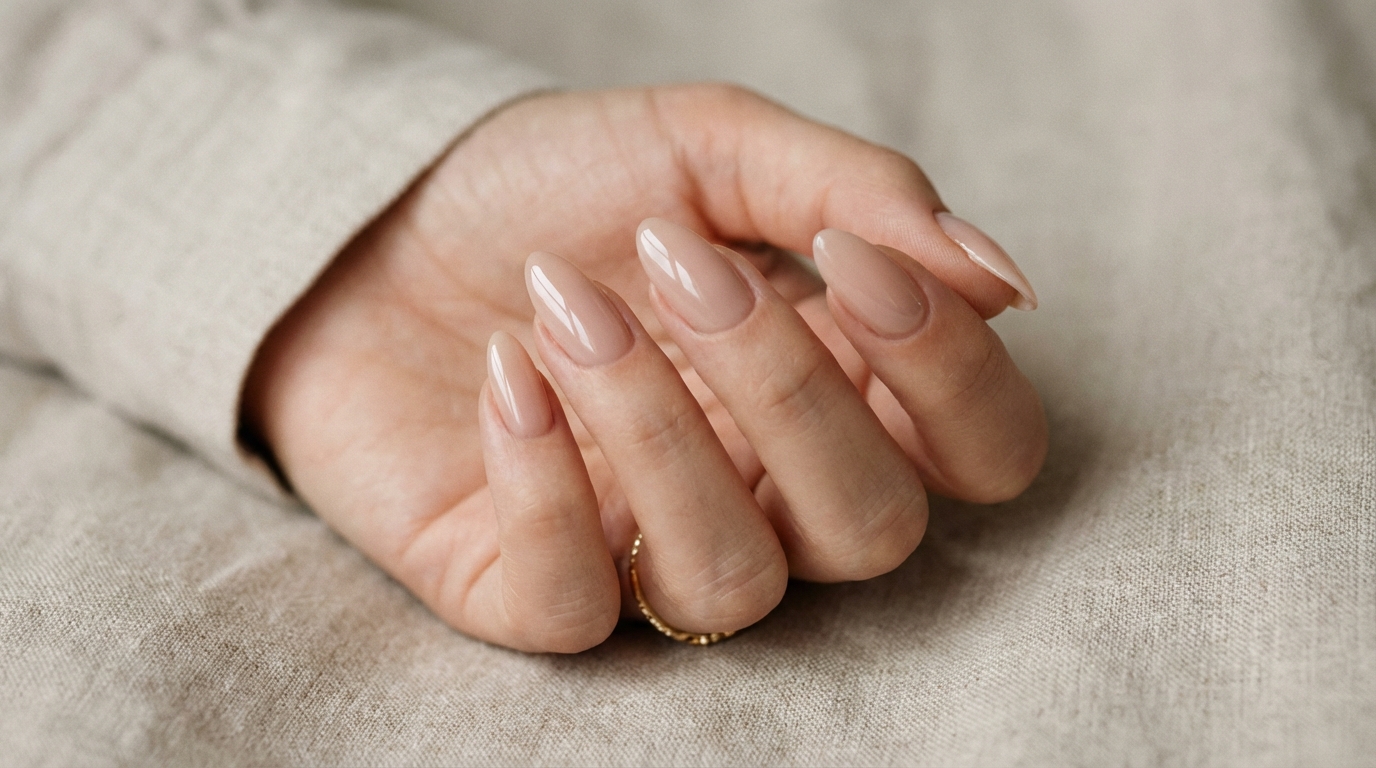
Visually, a press-on manicure capable of withstanding heavy water exposure looks different from a standard drugstore application. The key indicator is the cuticle area. In a waterproof application, the press-on sits flush against the proximal nail fold, mimicking the growth pattern of a natural nail or a sculpted builder gel (BIAB).
We are looking for a “glass-like” continuity. There should be zero visible ridge where the artificial nail meets the natural plate. The finish is typically high-gloss or semi-sheer jelly, as these textures hide stress marks better than matte finishes. The shape is usually tapered—almond or soft squoval—to minimize drag in the water. Unlike bulky acrylics which can trap moisture, this style is sleek, low-profile, and mimics the natural C-curve of the finger.
Nail Style Profile
| Feature | Description |
|---|---|
| Color Family | Nude, Translucent Pink, Milky White |
| Opacity | Semi-sheer to Medium Coverage |
| Finish | High-Gloss or Jelly (mimics wet glass) |
| Ideal Nail Length | Short to Medium |
| Ideal Nail Shape | Soft Almond or Squoval |
| How Natural It Looks | Very Natural (if cuticle is flushed) |
| Best For | Daily wear, vacations, frequent hand-washing |

Why “Shower with Press On Nails” is a Critical Topic
The ability to shower with press on nails without compromising their integrity is the holy grail of at-home manicures. Clients often choose press-ons for their versatility and health benefits, but the fear of water damage remains the primary barrier to adoption. Once you master the waterproof application, press-ons become indistinguishable from soft-gel extensions.
This durability allows for a “set and forget” mindset. You aren’t treating your hands like fragile tools; you are living your life. Furthermore, a water-tight seal prevents the “greenies” (pseudomonas bacteria), which thrive in the damp pockets between a lifted press-on and the natural nail plate. Mastering this technique isn’t just about longevity; it is about nail health.
How to Get This Look
At a Nail Salon
If you prefer a professional touch but want the press-on look (often called Gel-X or soft gel tips in salons), ask your technician for “full coverage soft gel extensions.” Ensure they focus on the cuticle work. You want to ask for a “flush cuticle blend.”
Show photos of nails that look like they are growing out of the skin, not sitting on top of it. Ask specifically for a rubber base coat or a builder gel adhesive, which provides flexibility in water. Avoid rigid acrylics if you spend a lot of time in water, as the rigidity can cause lifting when the natural nail swells with moisture.
At Home
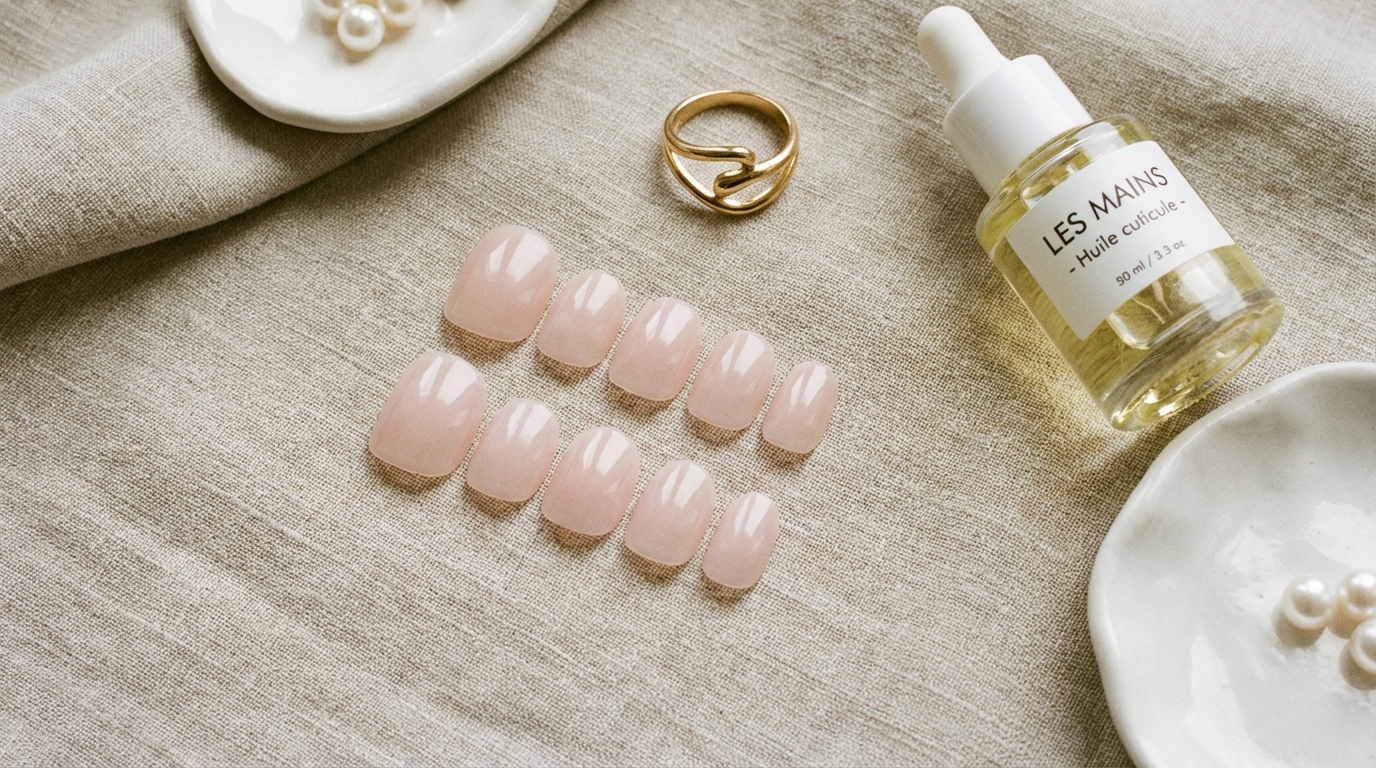
To achieve this durability yourself, the secret lies in the quality of the material. You need neutral press-ons that are made of gel rather than plastic. Plastic tends to be rigid and white-cast when bent; gel press-ons flex with your natural nail under warm water, maintaining the bond.
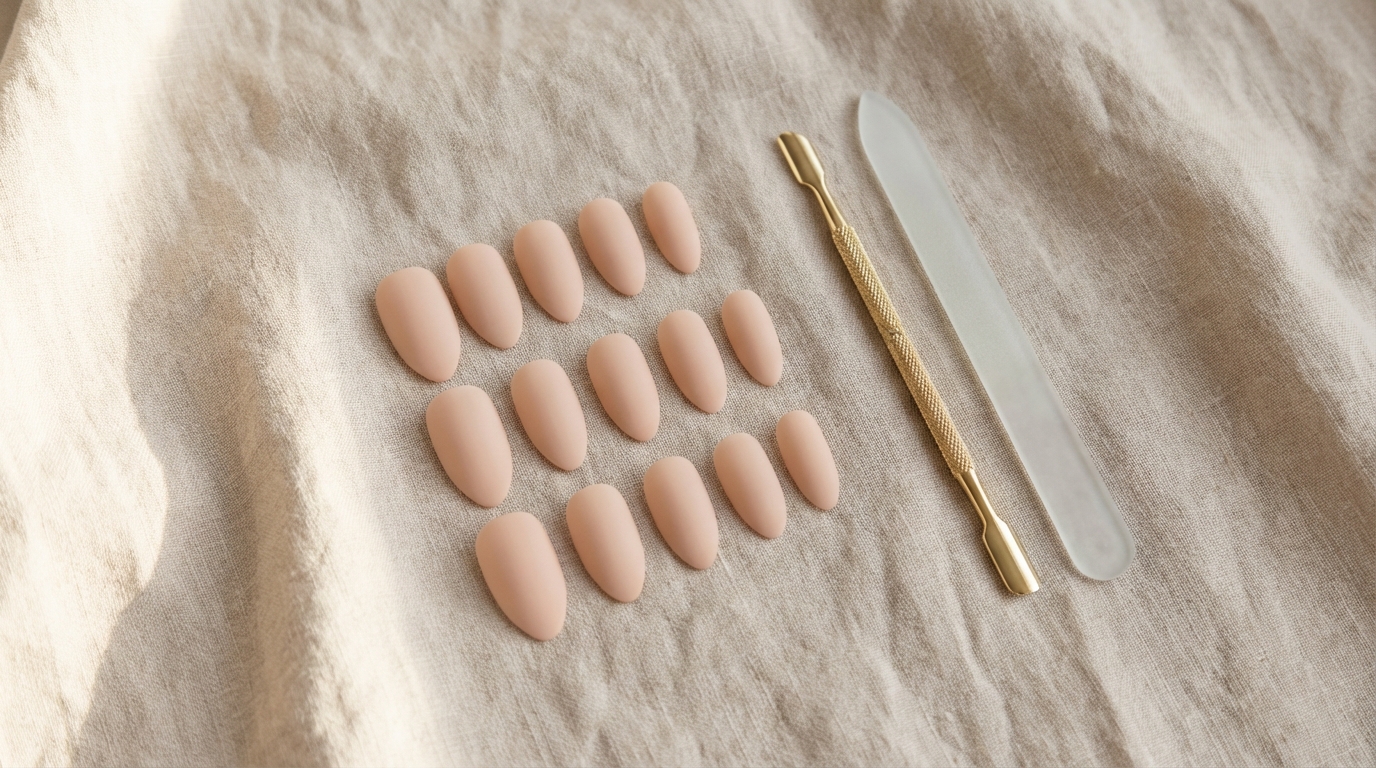
For the most natural finish, opt for short press-on nails that look real. The shorter the lever (the nail extension), the less torque is applied to the glue bond during a shower, resulting in longer wear.

Step-by-Step Application for a Water-Resistant Bond
Achieving a manicure that survives the shower starts long before you turn on the tap. It is entirely about the chemical preparation of the nail plate.
1. The Dry Prep
Never soak your hands before application. The nail plate is porous, like a sponge. If it absorbs water, it expands. If you apply glue to an expanded nail, the bond will break once the nail shrinks back to its dry size. Ensure your hands have been dry for at least an hour.
2. Texture and Etching
Gently buff the surface of your natural nail. We aren’t trying to thin the nail; we are merely lifting the oils and creating a textured surface for the adhesive to grip. A 180-grit buffer is ideal. Focus on the cuticle area and the sidewalls where water enters first.
3. Chemical Dehydration
This is the step most people miss. Wipe the nail thoroughly with 91% Isopropyl Alcohol or pure acetone. This strips surface oils. Pro Tip: Do not touch your nails, face, or hair after this step. Even the oil from your fingertip can compromise the waterproof seal.

4. The “Double-Bond” Glue Technique
Apply a thin layer of glue to your natural nail and a small bead to the back of the press-on. Let the glue on your natural nail tack up for 5 seconds before applying. This creates a stronger cohesive bond, similar to contact cement.
5. The 45-Degree Application
Slide the press-on nail into the cuticle pocket at a 45-degree angle. Press down slowly to push out any air bubbles. Air pockets are the enemy; they are the reservoirs where water collects. Hold firm pressure for 30 seconds—no less. Pay special attention to the sides.

Common Mistakes That Lead to Lifting
The “Hot Bath” Error
While you can certainly shower with press-ons, you should avoid submerging them in hot water for the first 24 hours after application. The adhesive needs time to fully cure and crystallize. Treat your new set like a fresh perm—keep it relatively dry for the first day.
Ignoring the Cuticle Gap
If you glue the nail over your cuticle skin, it will lift immediately. The glue adheres to keratin (nail), not skin. As your skin sheds and moves, the seal breaks, creating a funnel for shower water to rush in. Always push back your cuticles and apply the nail just barely in front of the skin line.
Wrong Size Selection
Forcing a nail that is too flat onto a curved nail bed creates tension. The press-on will constantly try to “pop” back to its original shape, eventually winning the battle against the glue. If you are between sizes, always size up and file down the sides for a custom fit. This is crucial for press-on nails for short nail beds, where fit is everything.

Maintenance and Longevity
To keep your nails looking glossy and secure through daily showers, post-shower care is vital. After showering, dry your hands thoroughly. Don’t let water sit under the free edge. Use a towel to gently pat the nails dry.
If you notice the shine dulling after a week of hot showers, a quick wipe with alcohol followed by a fresh coat of high-gloss top coat can revive the “wet look.” For those using reusable press-on nails, ensure you remove any old adhesive buildup from the back of the nail before re-applying to ensure a tight, water-resistant fit next time.

FAQ
Can I wash my hair vigorously with press-on nails?
Yes, but use the pads of your fingers, not the tips of your nails. This is better for your scalp health and prevents the lever-action that can pry press-ons loose. For extra protection, consider using a scalp massager tool in the shower.
Will hot water dissolve the nail glue?
Standard cyanoacrylate nail glue is water-resistant but can soften slightly under extreme heat. Warm showers are fine, but prolonged soaking in hot tubs may weaken the bond over time. According to Allure’s guide to press-ons, protecting your hands with gloves during heavy water exposure (like dishwashing) significantly extends wear time.
Why does my hair get caught in my nails when I shower?
This indicates “micro-lifting” at the cuticle or sidewalls. The seal has broken slightly, creating a gap. If this happens, it is best to remove the nail properly and re-apply it rather than forcing it to stay, which can trap moisture and bacteria.
How long should I wait to shower after applying press-ons?
Ideally, wait at least 2 to 3 hours. For the absolute best results, apply your nails before bed. This gives the adhesive a full 6-8 hours to cure without being disturbed by water, hand washing, or lotions.

Conclusion
The ability to shower with press on nails comfortably is the difference between a temporary fix and a viable lifestyle change. When you prioritize preparation and precise application, press-ons offer a freedom that rivals expensive salon visits.
Do not fear the water. With a high-quality glue, the correct fit, and a little patience during the curing window, your minimalist manicure will remain as flawless as the moment you pressed it on. It is time to trust your application and enjoy the ease of beautiful nails, every single day.